Givi Racks for Himalayan 450

When I first got the bike, I was torn whether or not to get another set of Givi racks so I can use the same hardcases on both bikes. You know the argument about soft vs hard bags. I already have invested in the Givi bags and racks so ultimately I decided to get the same racks.
I like the hard bags. The main reason is security. I can lock things up and since I ride both bikes everywhere, including work, it made more sense to be able to lock up my gear when not with the bike. I did NOT purchase a back rack for the top box. I do not use it very often unless doing multi-day trips which in most cases, I will not ride the Himalayan.
One issue I did find was trouble getting the parts. I finally ordered mine from overseas. They got here in just a few days but shipping is expensive. Overall, I think I may have saved a few buck even with the tariffs but I was worried that if there was an issue, returning them would have been VERY expensive. Luckily, everything fit like a glove.
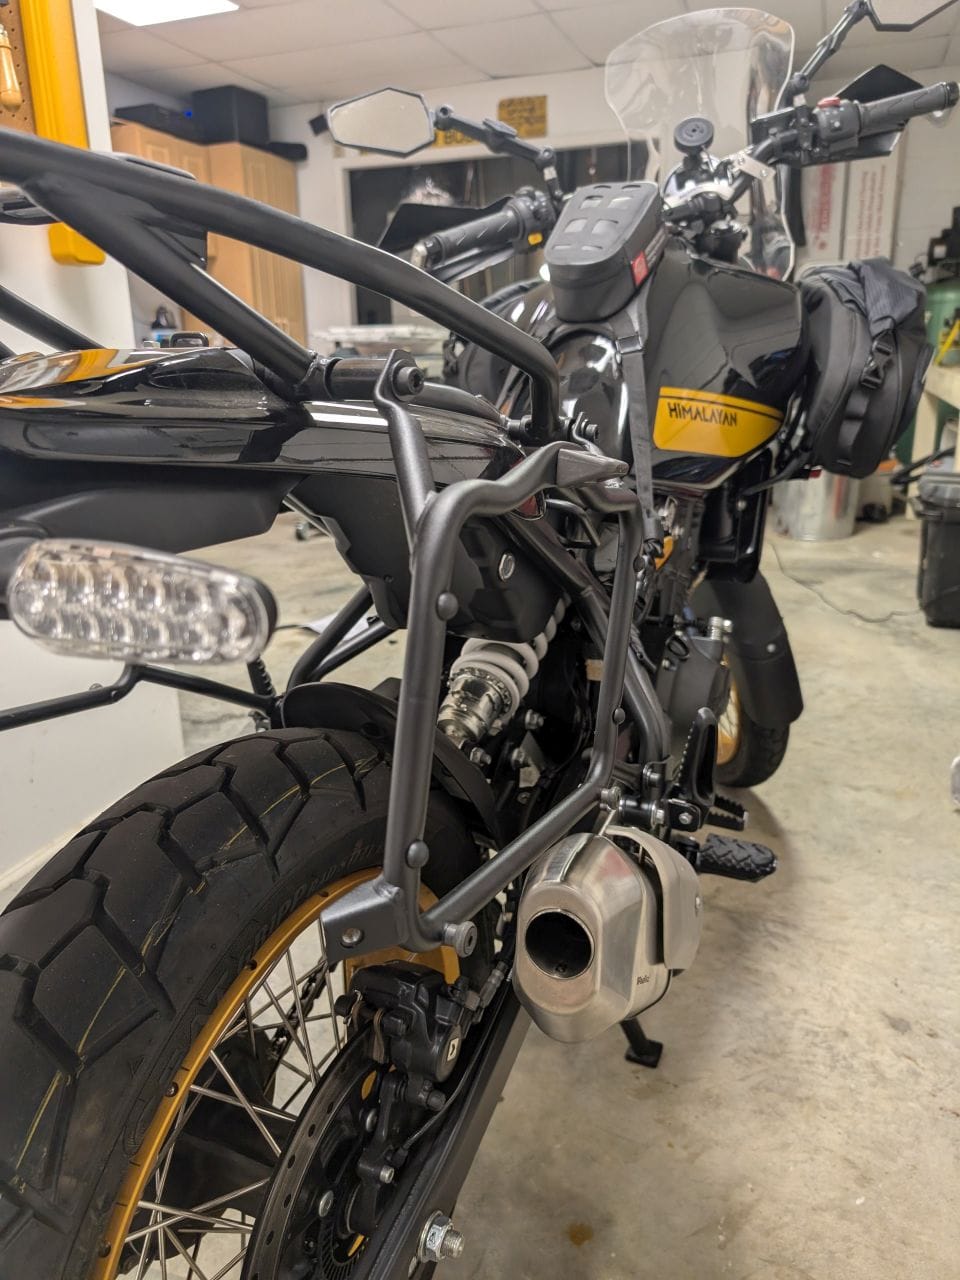
One thing I can say is that fitting these racks on the Himalayan 450 was VERY easy. Much easier than the Triumph and MUCH easier than on my previous Himalayan 411. Everything fit perfectly and access to all the mounting points was spot on. I think I installed these in less than 1 hour.
When the box arrived, there are three main pieces (two side racks and back support bar) to the rack and a box of screws, spacers, etc. The first thing I did was look at the instructions and what was included in the box. I take a lot of time to ensure that I have all the small pieces before I get started.
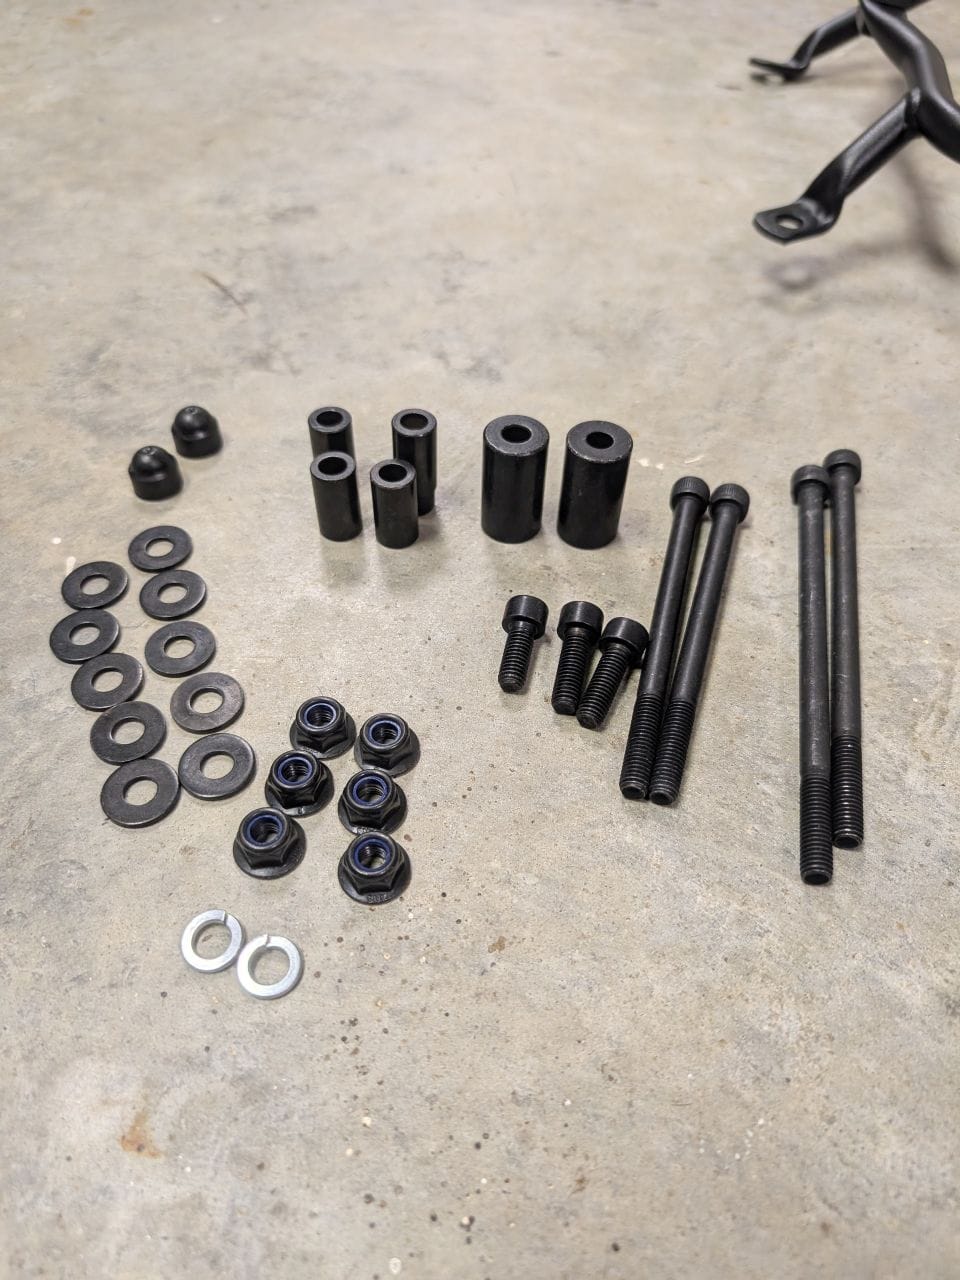
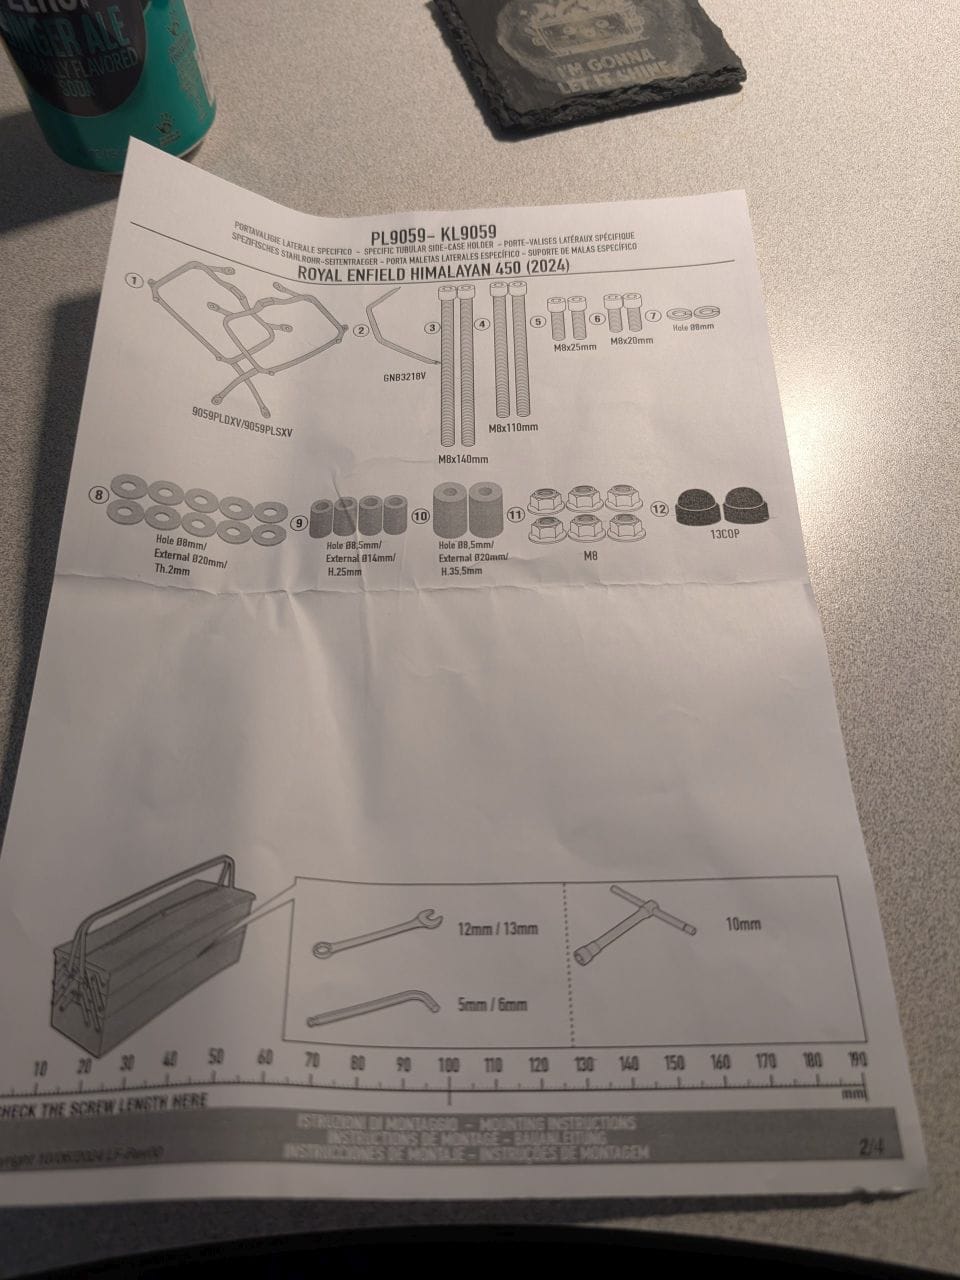
Always check that you are NOT missing any hardware!
Once I was sure I had all the pieces, I read over the mounting instructions. So easy! Take off the seat. There are two mounting points at the seat and one by the foot pegs. There was already a mounting hole (empty) near the foot pegs so nothing needed to be removed. Remove the old top mounting bolts, slide in the new bolts and spacers and tighten loosely. Then attached the bottom point near the foot pegs. Now do the same on the other side.
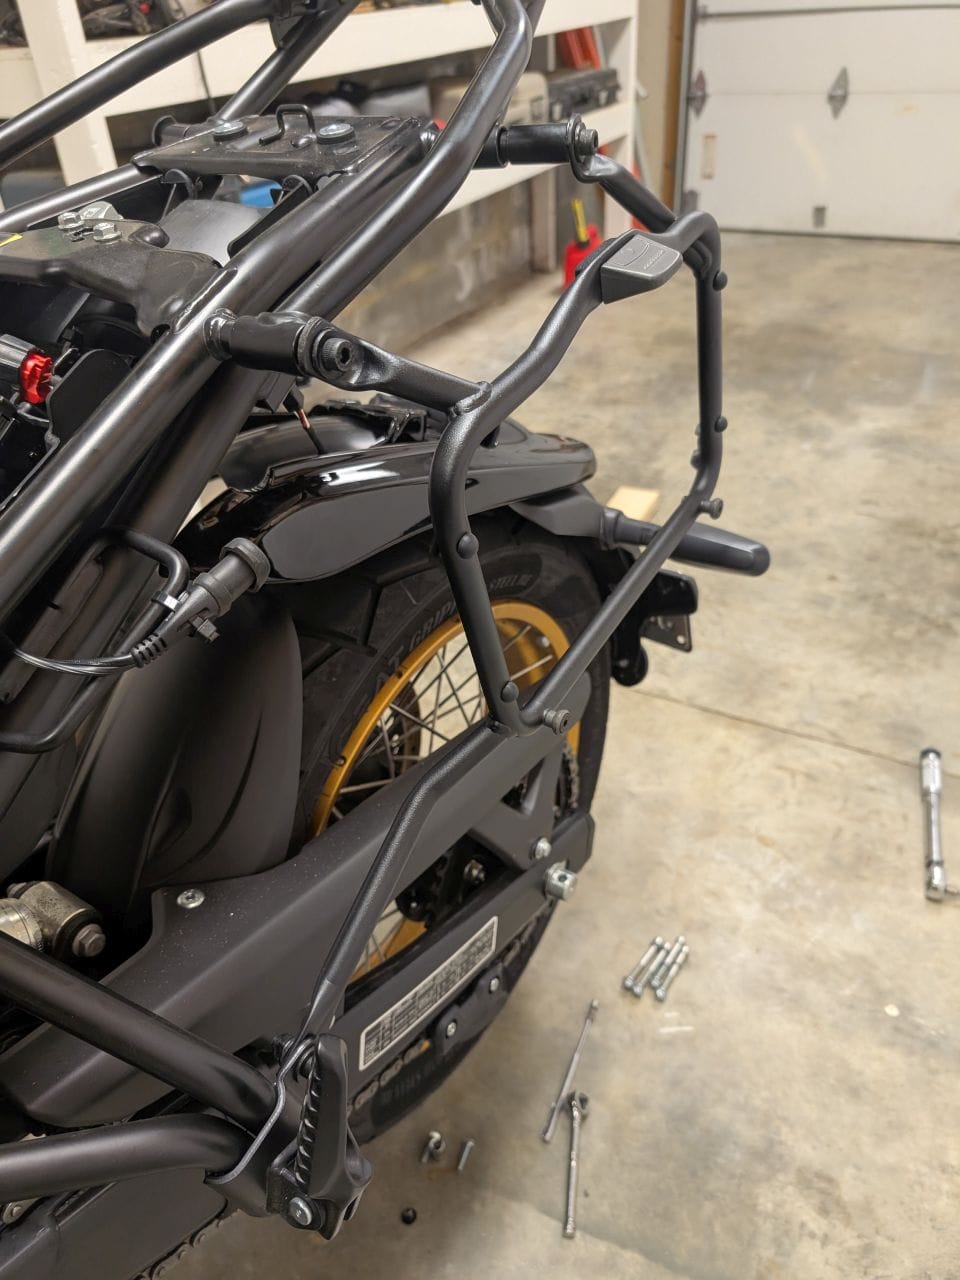
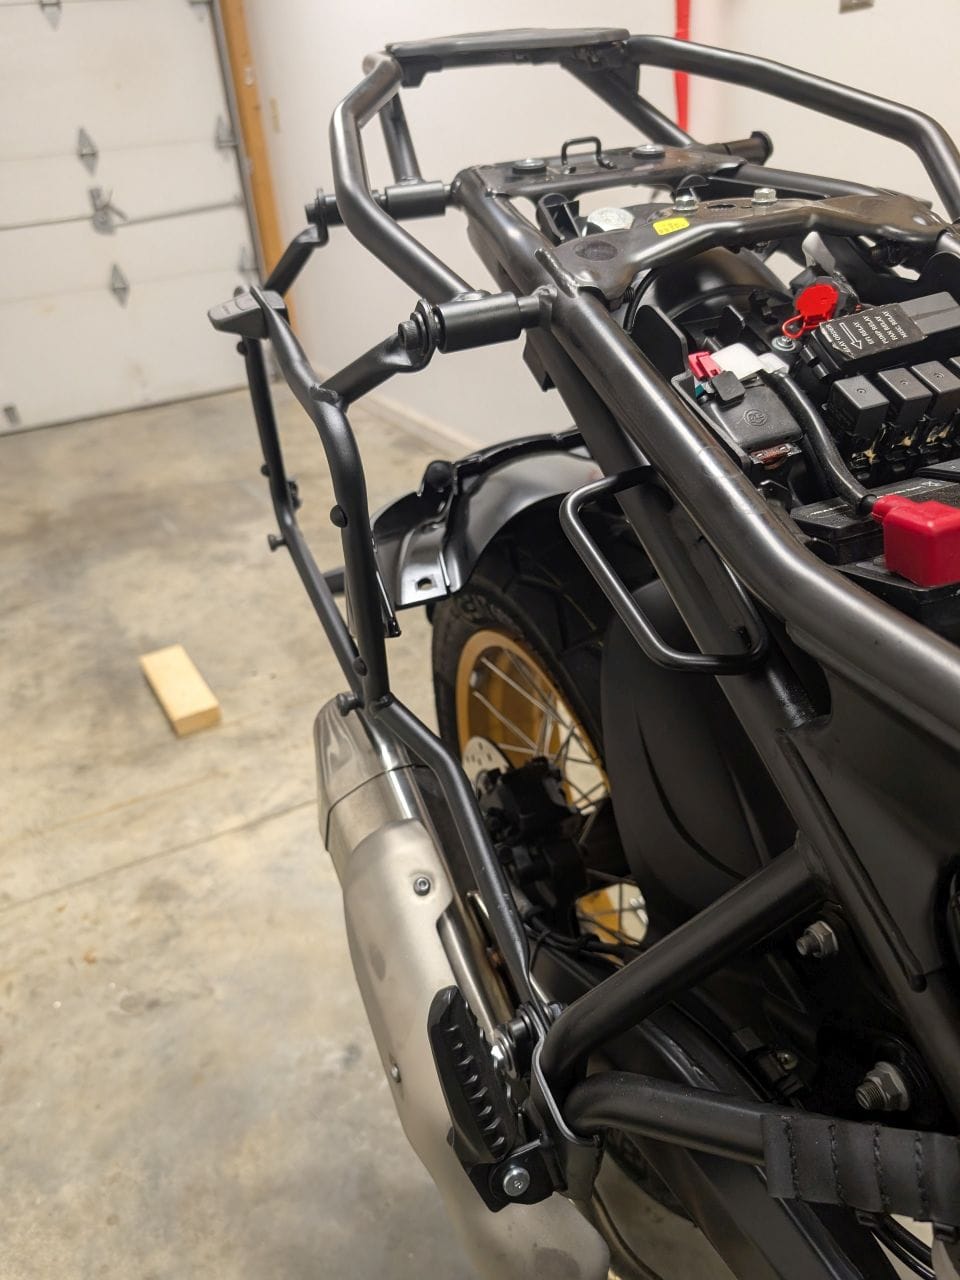
Mounting the side racks is quick and simple.
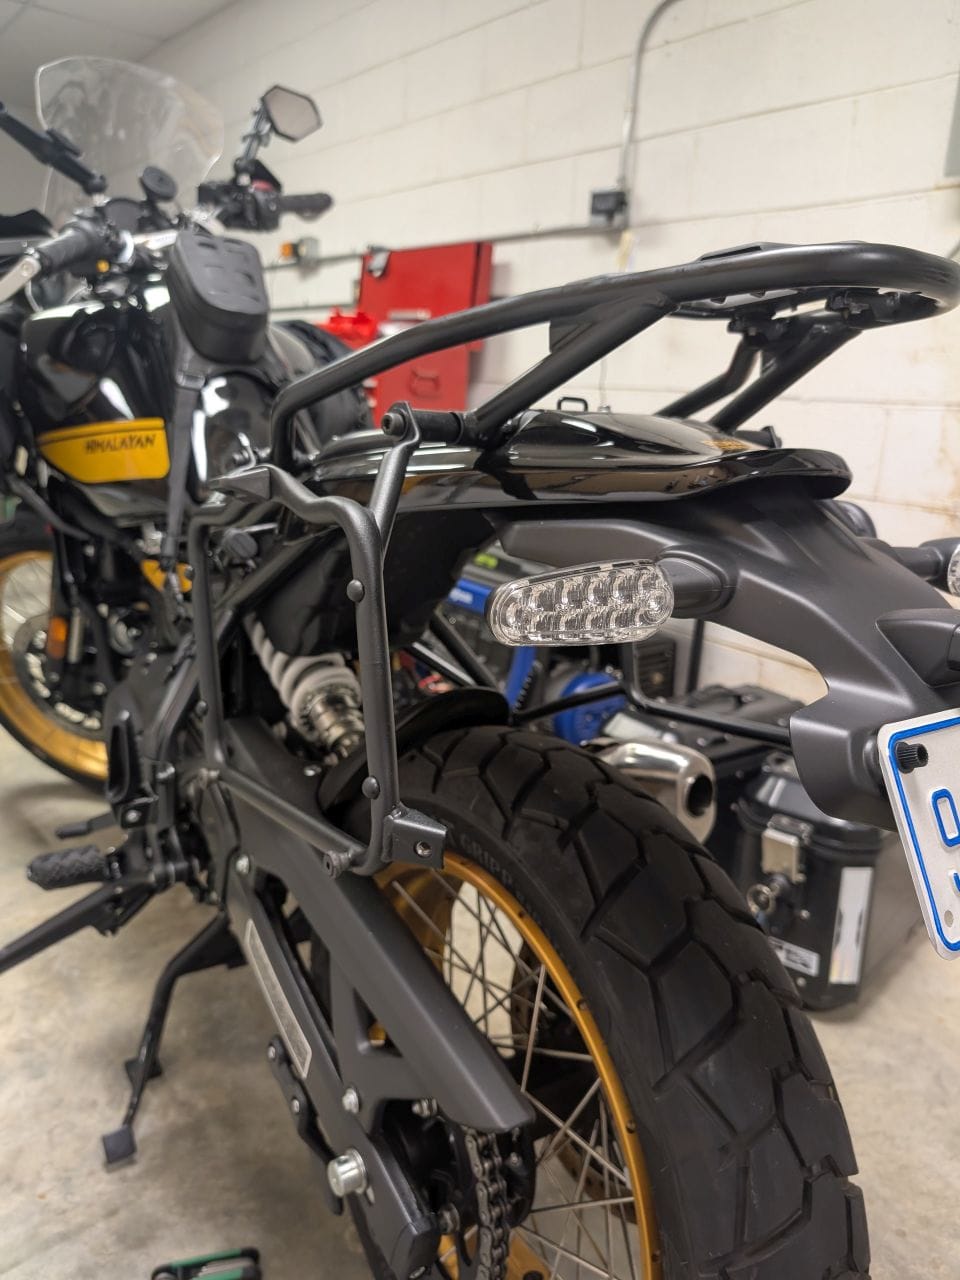
Once the side racks are mounted, you need to attach the back support bar. With the racks loosely tightened, just attach. You should not have any issue moving the side racks to position the back support rack holes. Once the bolts are in place, go back and begin tightening the side racks. Use a torque wrench. They supply the settings for you in the instructions. Once the side racks are tight, position the back support rack and tighten. That is all there is to it.
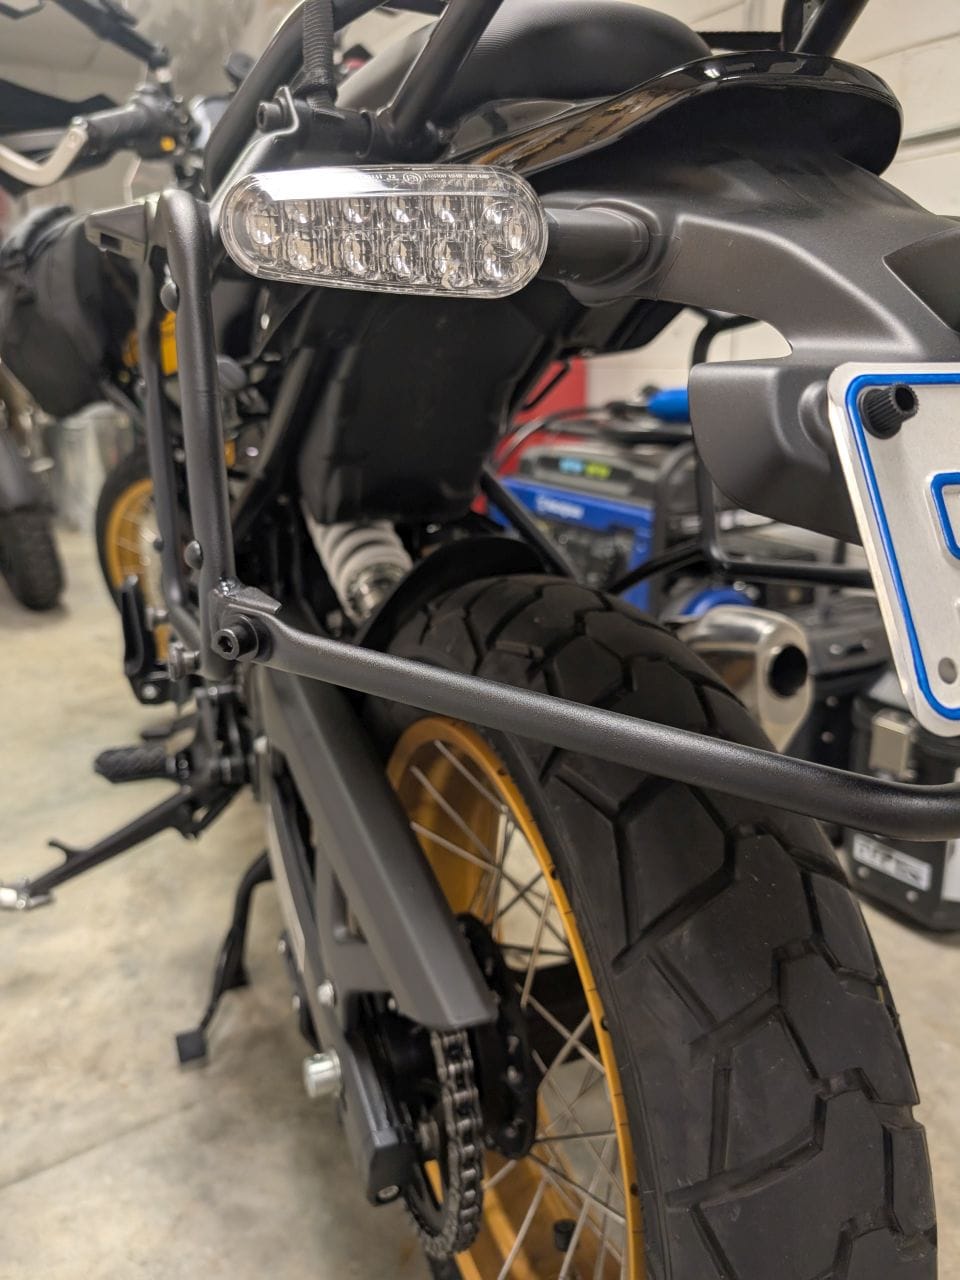

The back support rack.
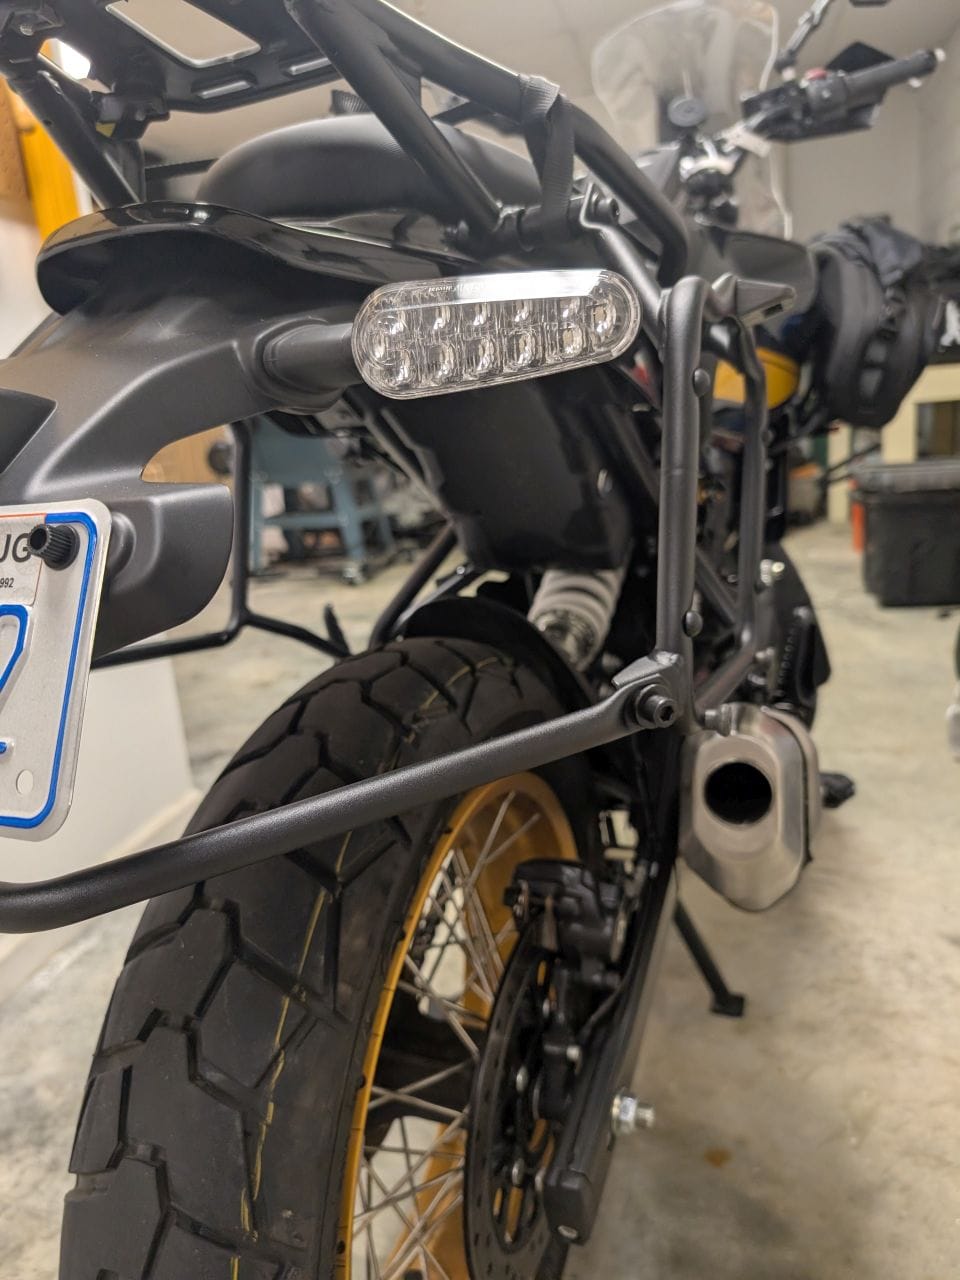
I went ahead and attached bags and they fit perfect. I also decided to add the Givi tool box. On my Tiger 900, I used to have this attached. With the Tiger 1200, I could not attach it since there were a few items in the way and when compressing the shock, the box would hit. I could have fabricated a new rack to attach the tool box but I just never saw the need for it. With this new bike, attaching it would be simple. Just order the new support bracket from Givi.
Just like the racks, the install was simple. It took about 10 minutes to install. The new bracket came with all new hardware which I replaced on my older box.
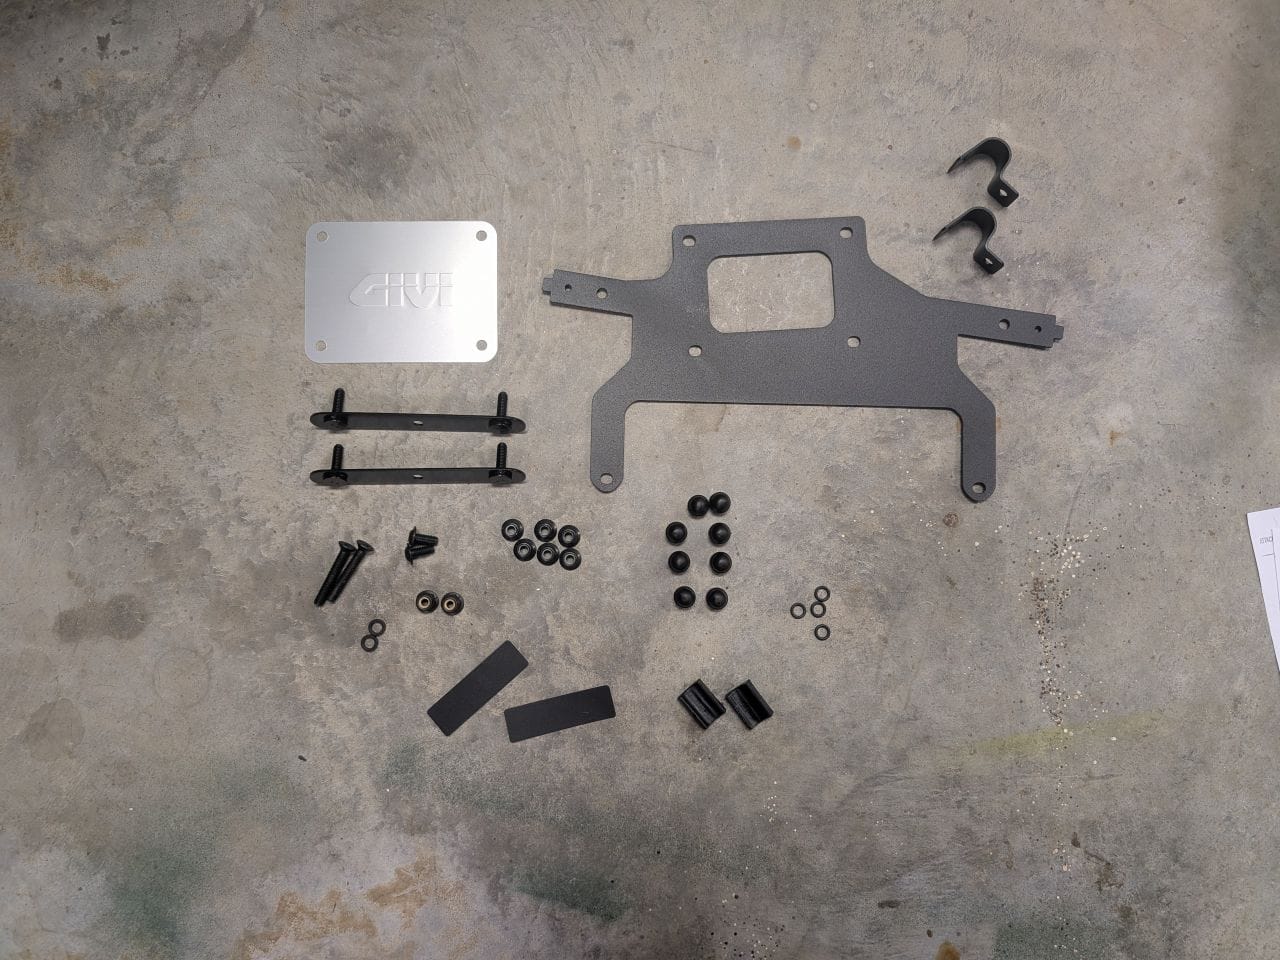
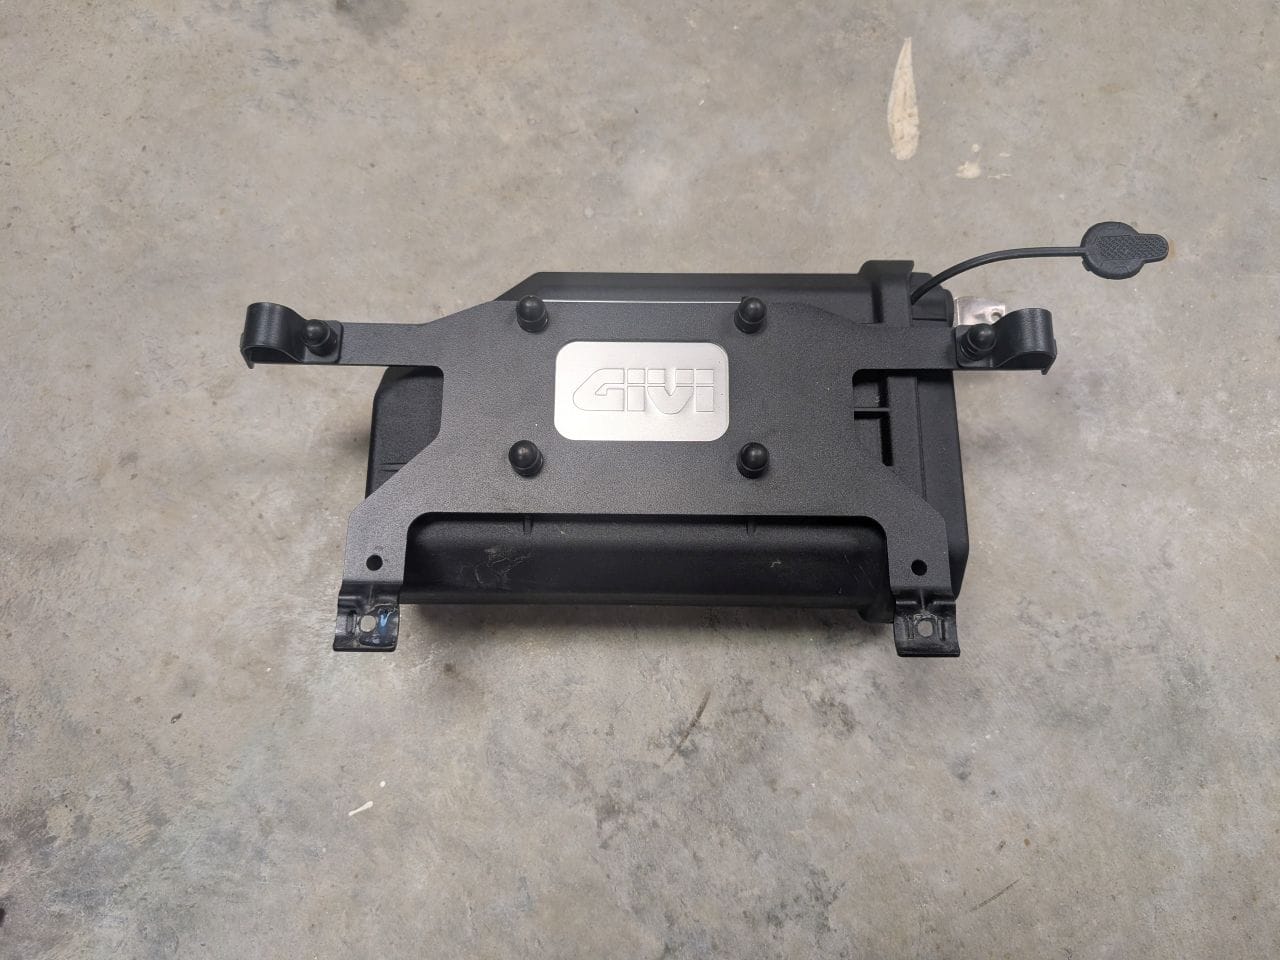
Old tool box, new rack and hardware.
All you need to do once the hardware is installed is attach it to the side rack. Now I can lock up all my tools, compressor, flat plugs, etc. Nothing like being to reuse old equipment. No wonder I never throw anything out.