New Lights for the Road King

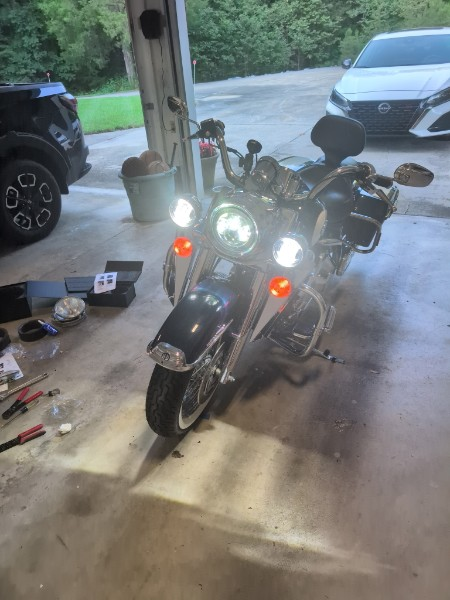
There are some motorcycle upgrades that make a bike look better, and there are others that actually make riding it better. Replacing the original lighting on my 2001 Harley-Davidson Road King falls firmly into the second category.
The Road King has a classic look that I really like, but the original headlight and auxiliary passing lamps were designed around lighting technology that is more than two decades old. After spending enough time riding at night, I decided it was time to do something about it.
The solution was a complete LED lighting upgrade from HOGWORKZ.
I replaced both the 7-inch headlamp and the two auxiliary passing lamps with HOGWORKZ LED units. The result was not only a major improvement in nighttime illumination, but also a much more modern appearance while still retaining the classic Road King look.
HOGWORKZ offers several versions of its 7-inch LED headlight and auxiliary passing-light kits, including chrome, blackout and HALOMAKER versions. The kits are designed for Harley-Davidson Touring models, and the company's fitment information specifically includes 1994–2013 Road Kings. I opted for the standard headlamp, no halo and no blackout. I wanted to retain the original look and feel as much as I could.
Why Replace the Original Lights?
The factory lighting on a 2001 Road King wasn't necessarily bad when the motorcycle was new. The problem is that lighting technology has come a long way since then.
The original headlight produces a relatively warm, yellowish light compared with today's LED headlights. More importantly, the beam pattern and overall light output simply don't compare with a modern LED projector-style headlight.
For me, the biggest reasons for making the change were:
- Better visibility at night
- A brighter, whiter light
- Improved visibility to other drivers
- Better illumination from the auxiliary lights
- Lower electrical demand compared with traditional incandescent lighting
- A more modern appearance
- Improved overall confidence when riding after dark
The HOGWORKZ 7-inch LED headlight is rated at up to 5,400 lumens on high beam and 3,600 lumens on low beam, while the 4.5-inch auxiliary passing lamps are rated at 3,200 lumens each. HOGWORKZ also uses anti-interference electronics designed to prevent the radio, Bluetooth or CB interference that can sometimes occur with inexpensive LED lighting.
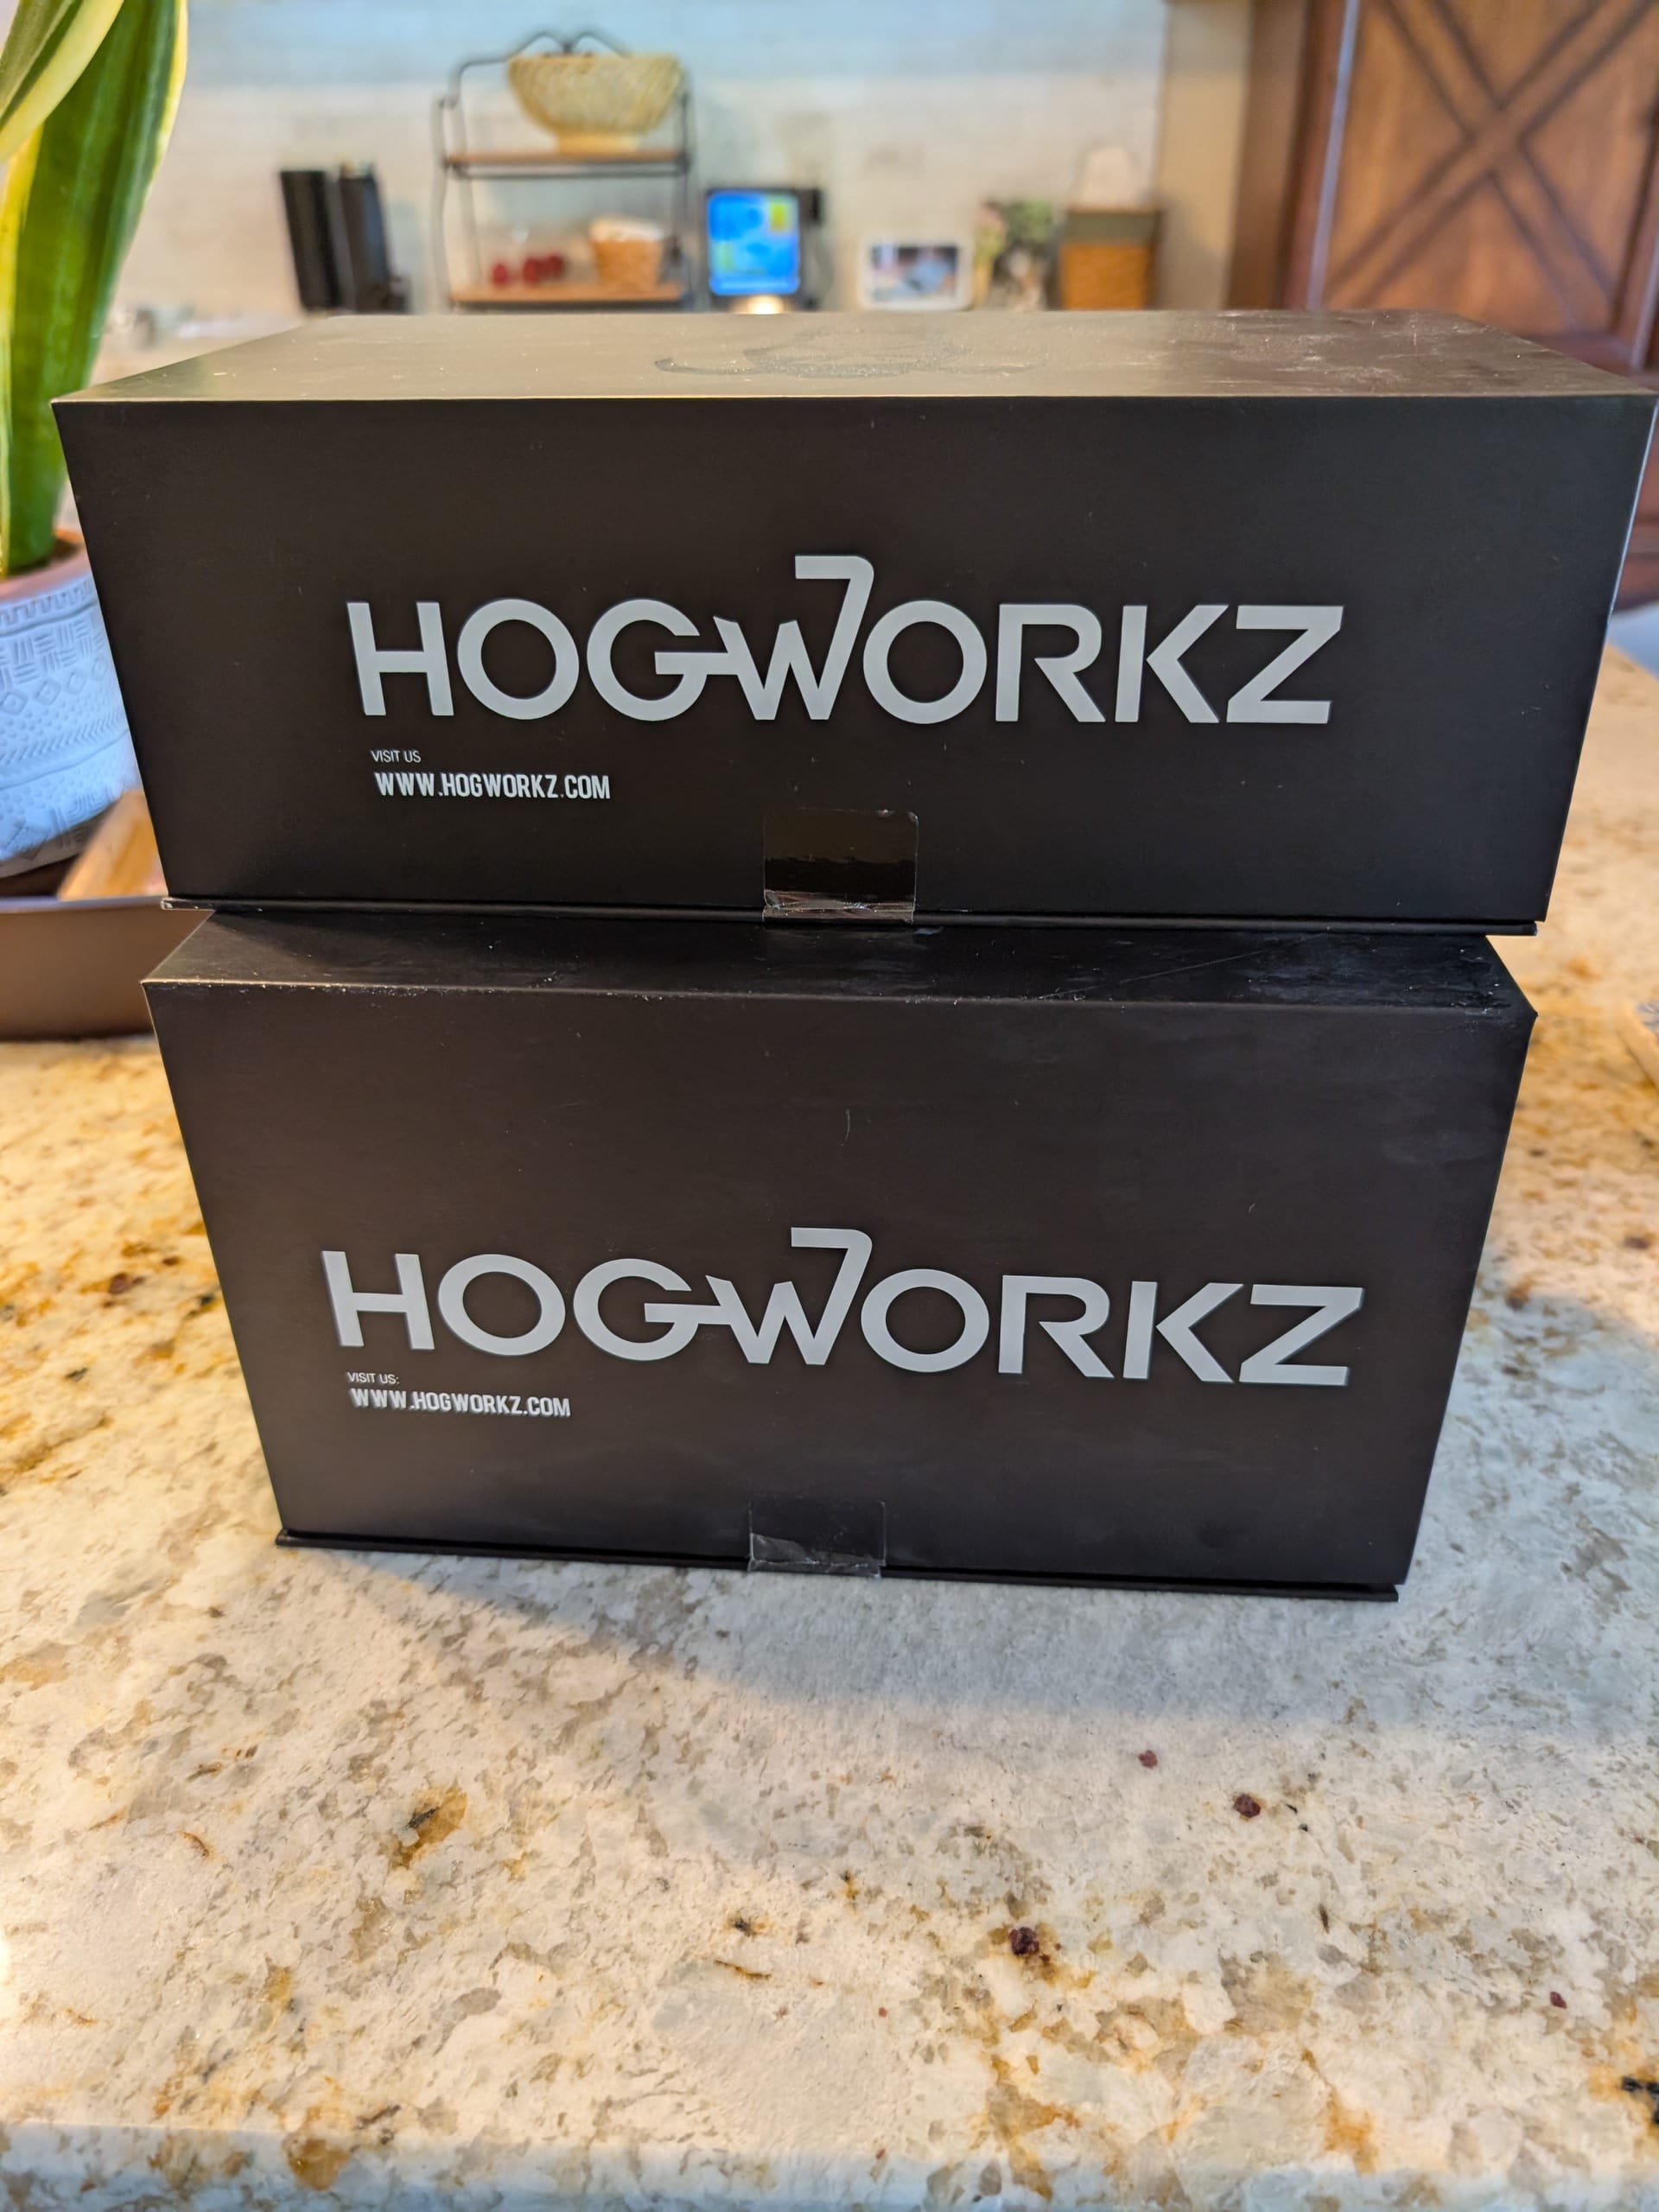
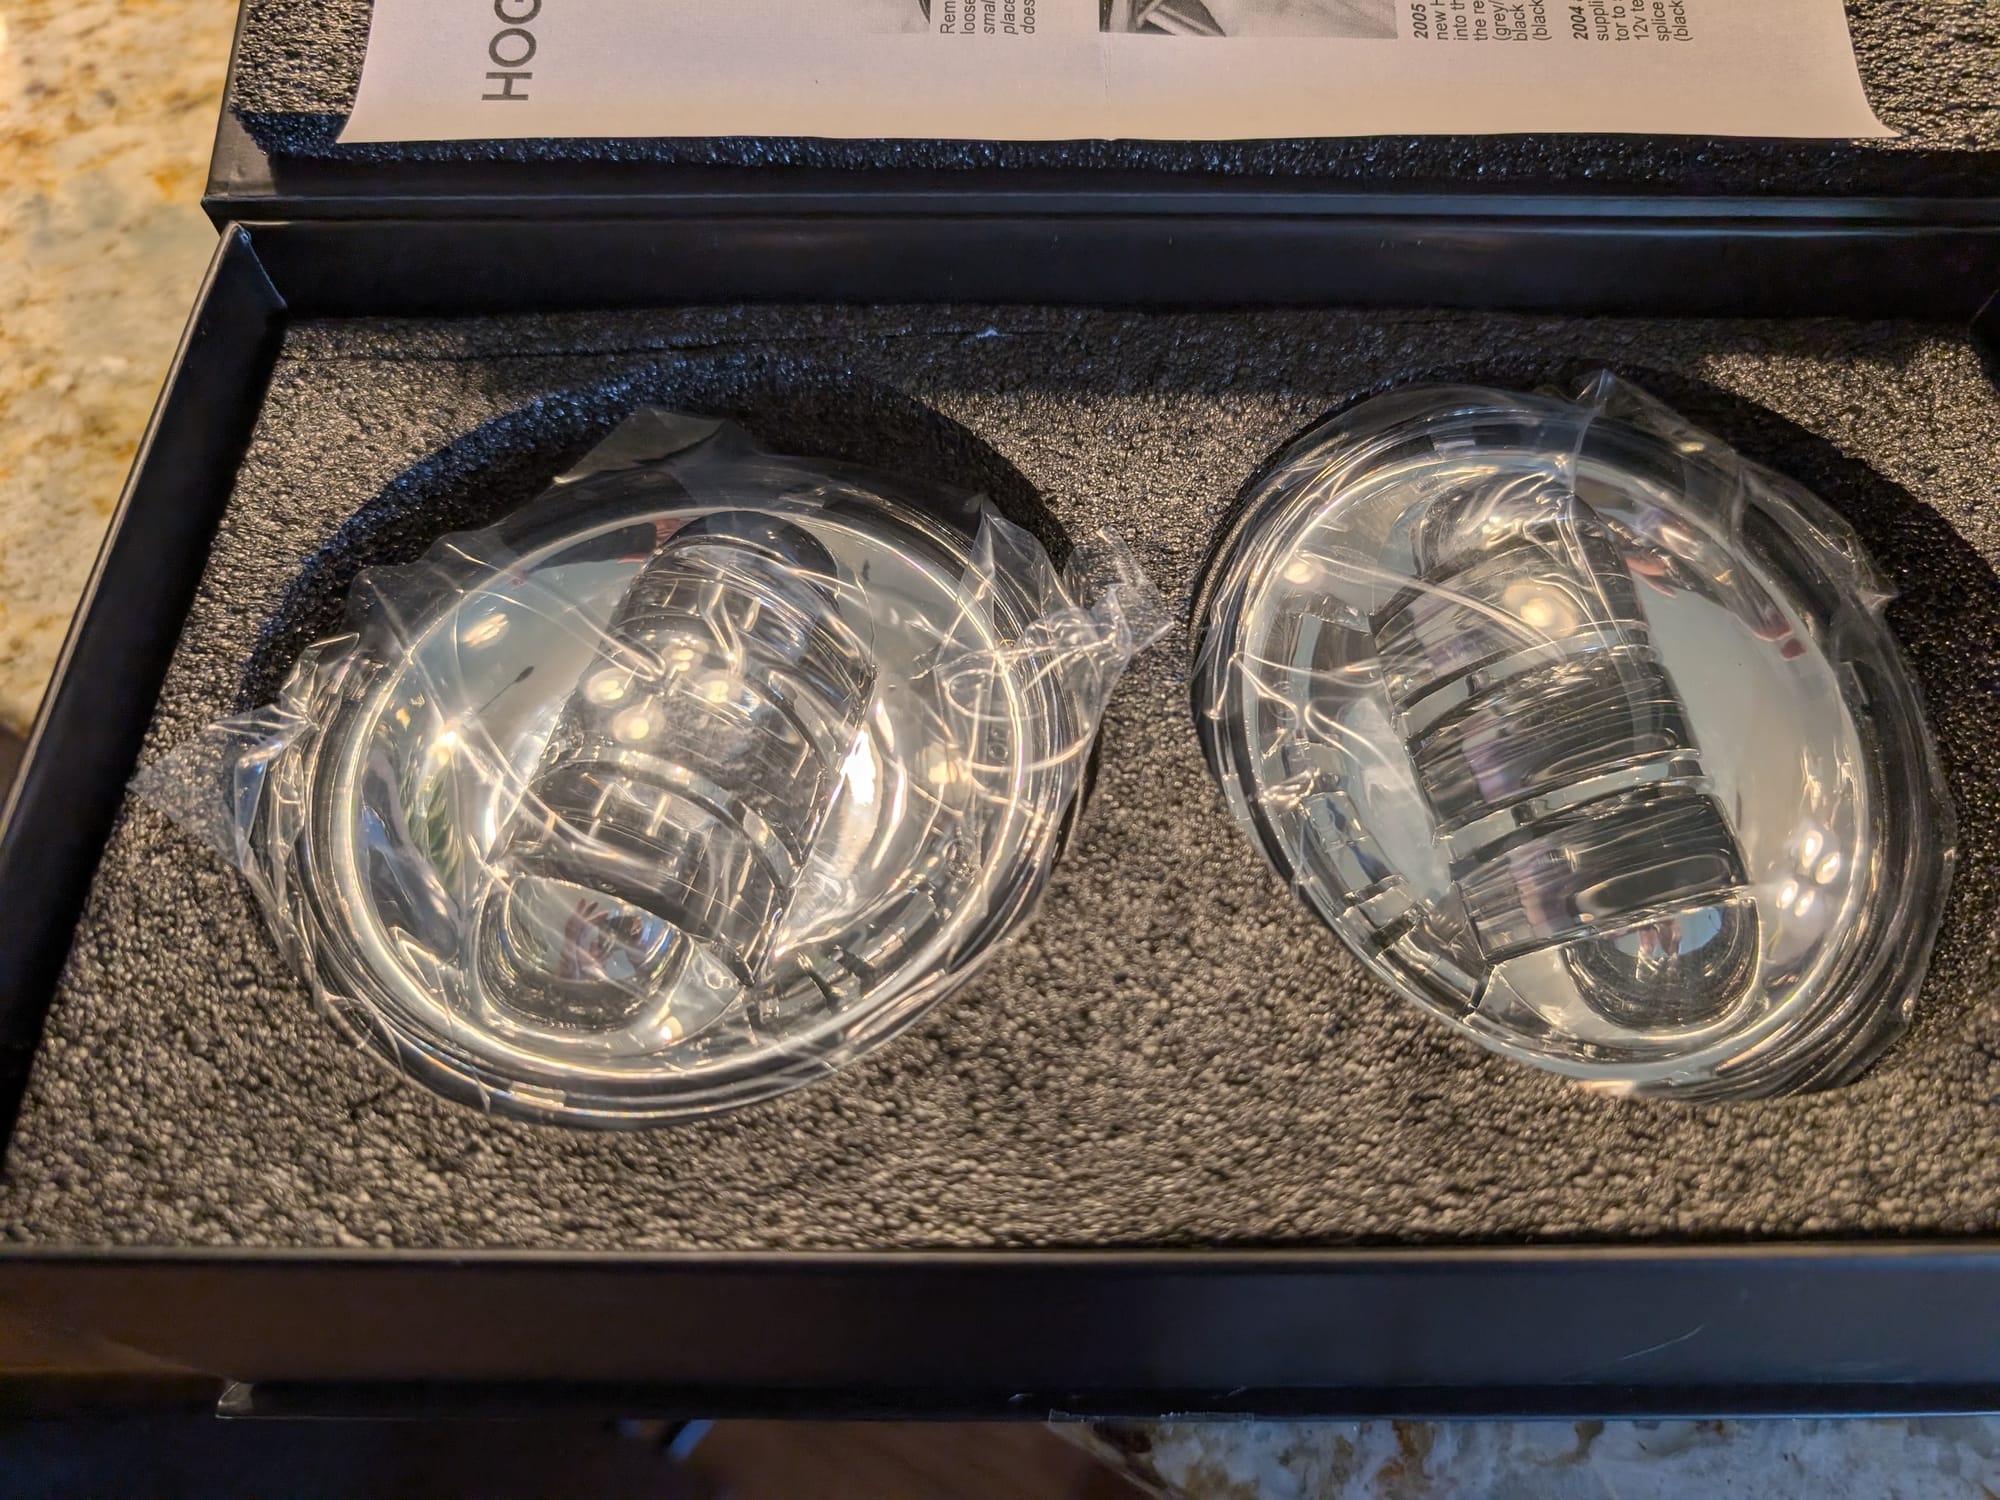
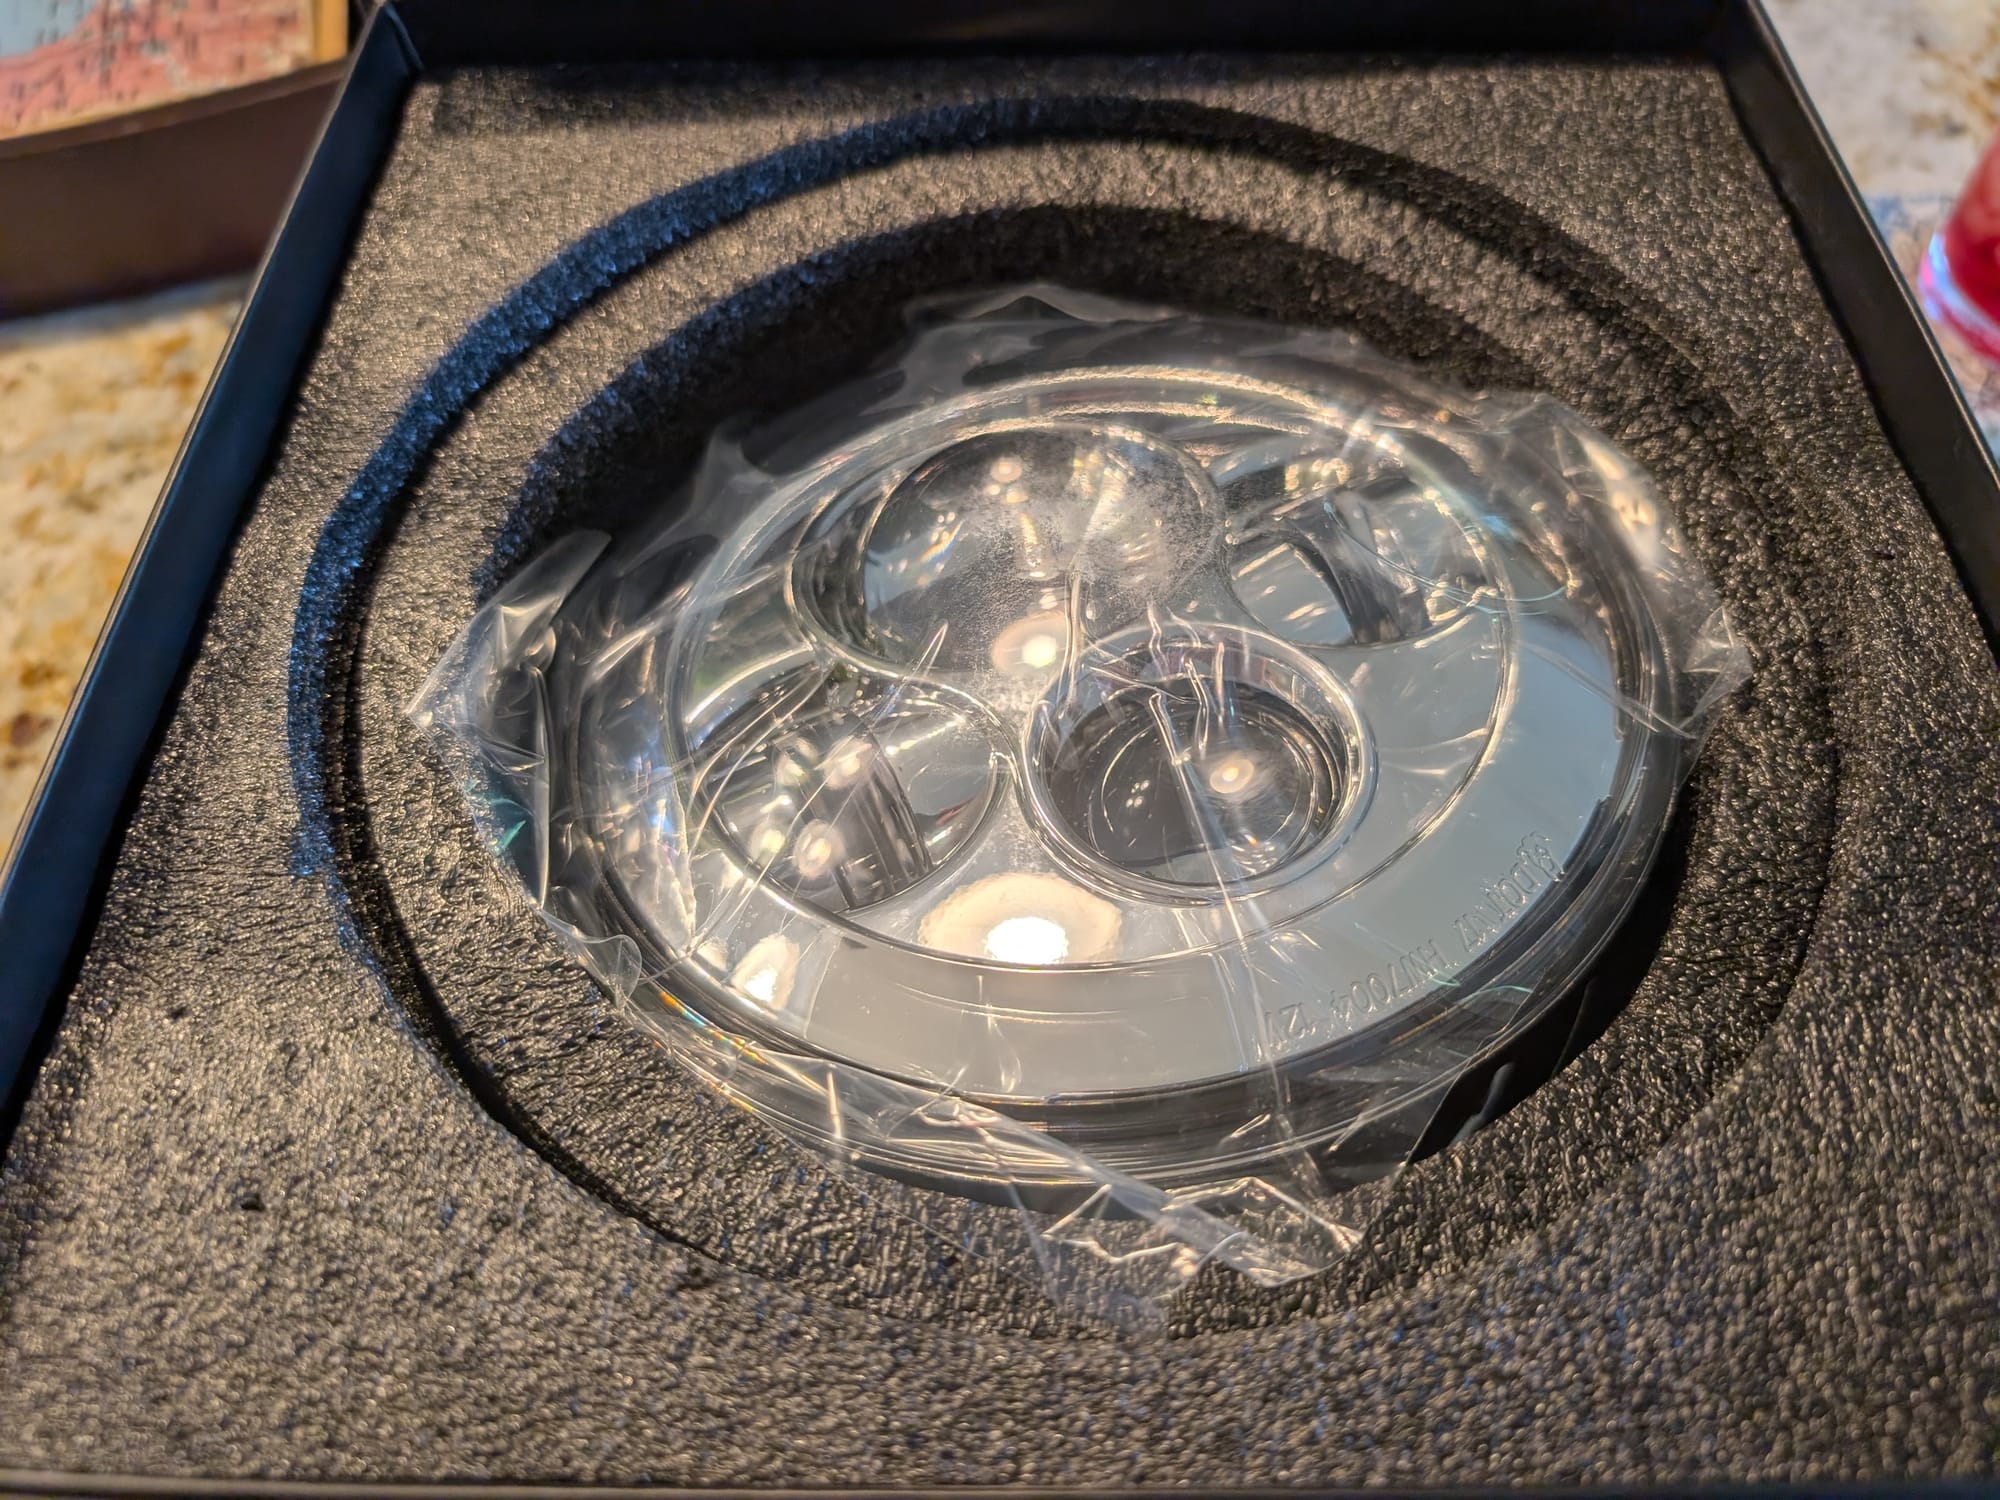
The new HogWorkz headlamp and auxilliary lights.
That's a pretty substantial upgrade from the technology that originally came on my 2001 Road King.
Choosing the HOGWORKZ Lights
HOGWORKZ offers several different combinations for the Road King.
The basic choices include chrome or black housings, with some versions incorporating the HALOMAKER halo design.
For a motorcycle like the Road King, I think the chrome version makes a lot of sense because it maintains the traditional Harley-Davidson appearance.
The kit I used consists of:
- One 7-inch HOGWORKZ LED headlight
- Two 4.5-inch HOGWORKZ LED auxiliary passing lamps
- Headlight mounting components
- Wiring adapters/harness components
- Installation hardware
For 1994–2013 Touring models, including the Road King, HOGWORKZ specifies mounting bracket HW131383 for the headlight installation.
Before ordering, however, I would recommend checking the exact part number and fitment for your particular Road King. HOGWORKZ has several generations and versions of these lights, and the hardware requirements can vary.
What You Will Need
The installation is relatively straightforward, but having the right tools ready makes the job much easier.
For my installation, I would recommend having:
- Phillips screwdriver
- Allen wrenches
- Small flat-blade screwdriver
- Electrical contact cleaner
- Clean microfiber cloth
- Work light
- Optional: dielectric grease
- Optional: painter's tape to protect painted surfaces
You don't need a huge collection of tools for this job.
The most important thing is to take your time when removing the original headlight and passing lamps. These components are surrounded by chrome and painted parts that you don't want to scratch.
Before Starting
Any time I'm working on electrical components, I like to start by making sure the motorcycle is secure and the ignition is switched off. If you're going to be disconnecting wiring, it's also a good idea to disconnect the battery according to the procedure appropriate for your motorcycle.
The HOGWORKZ lights are designed as a plug-and-play installation, but you are still working around the motorcycle's electrical system. Don't rush this part of the job. A few extra minutes spent protecting the motorcycle and organizing the hardware can save a lot of frustration later.
Removing the Original Headlight
The first part of the project is removing the original 7-inch headlight.
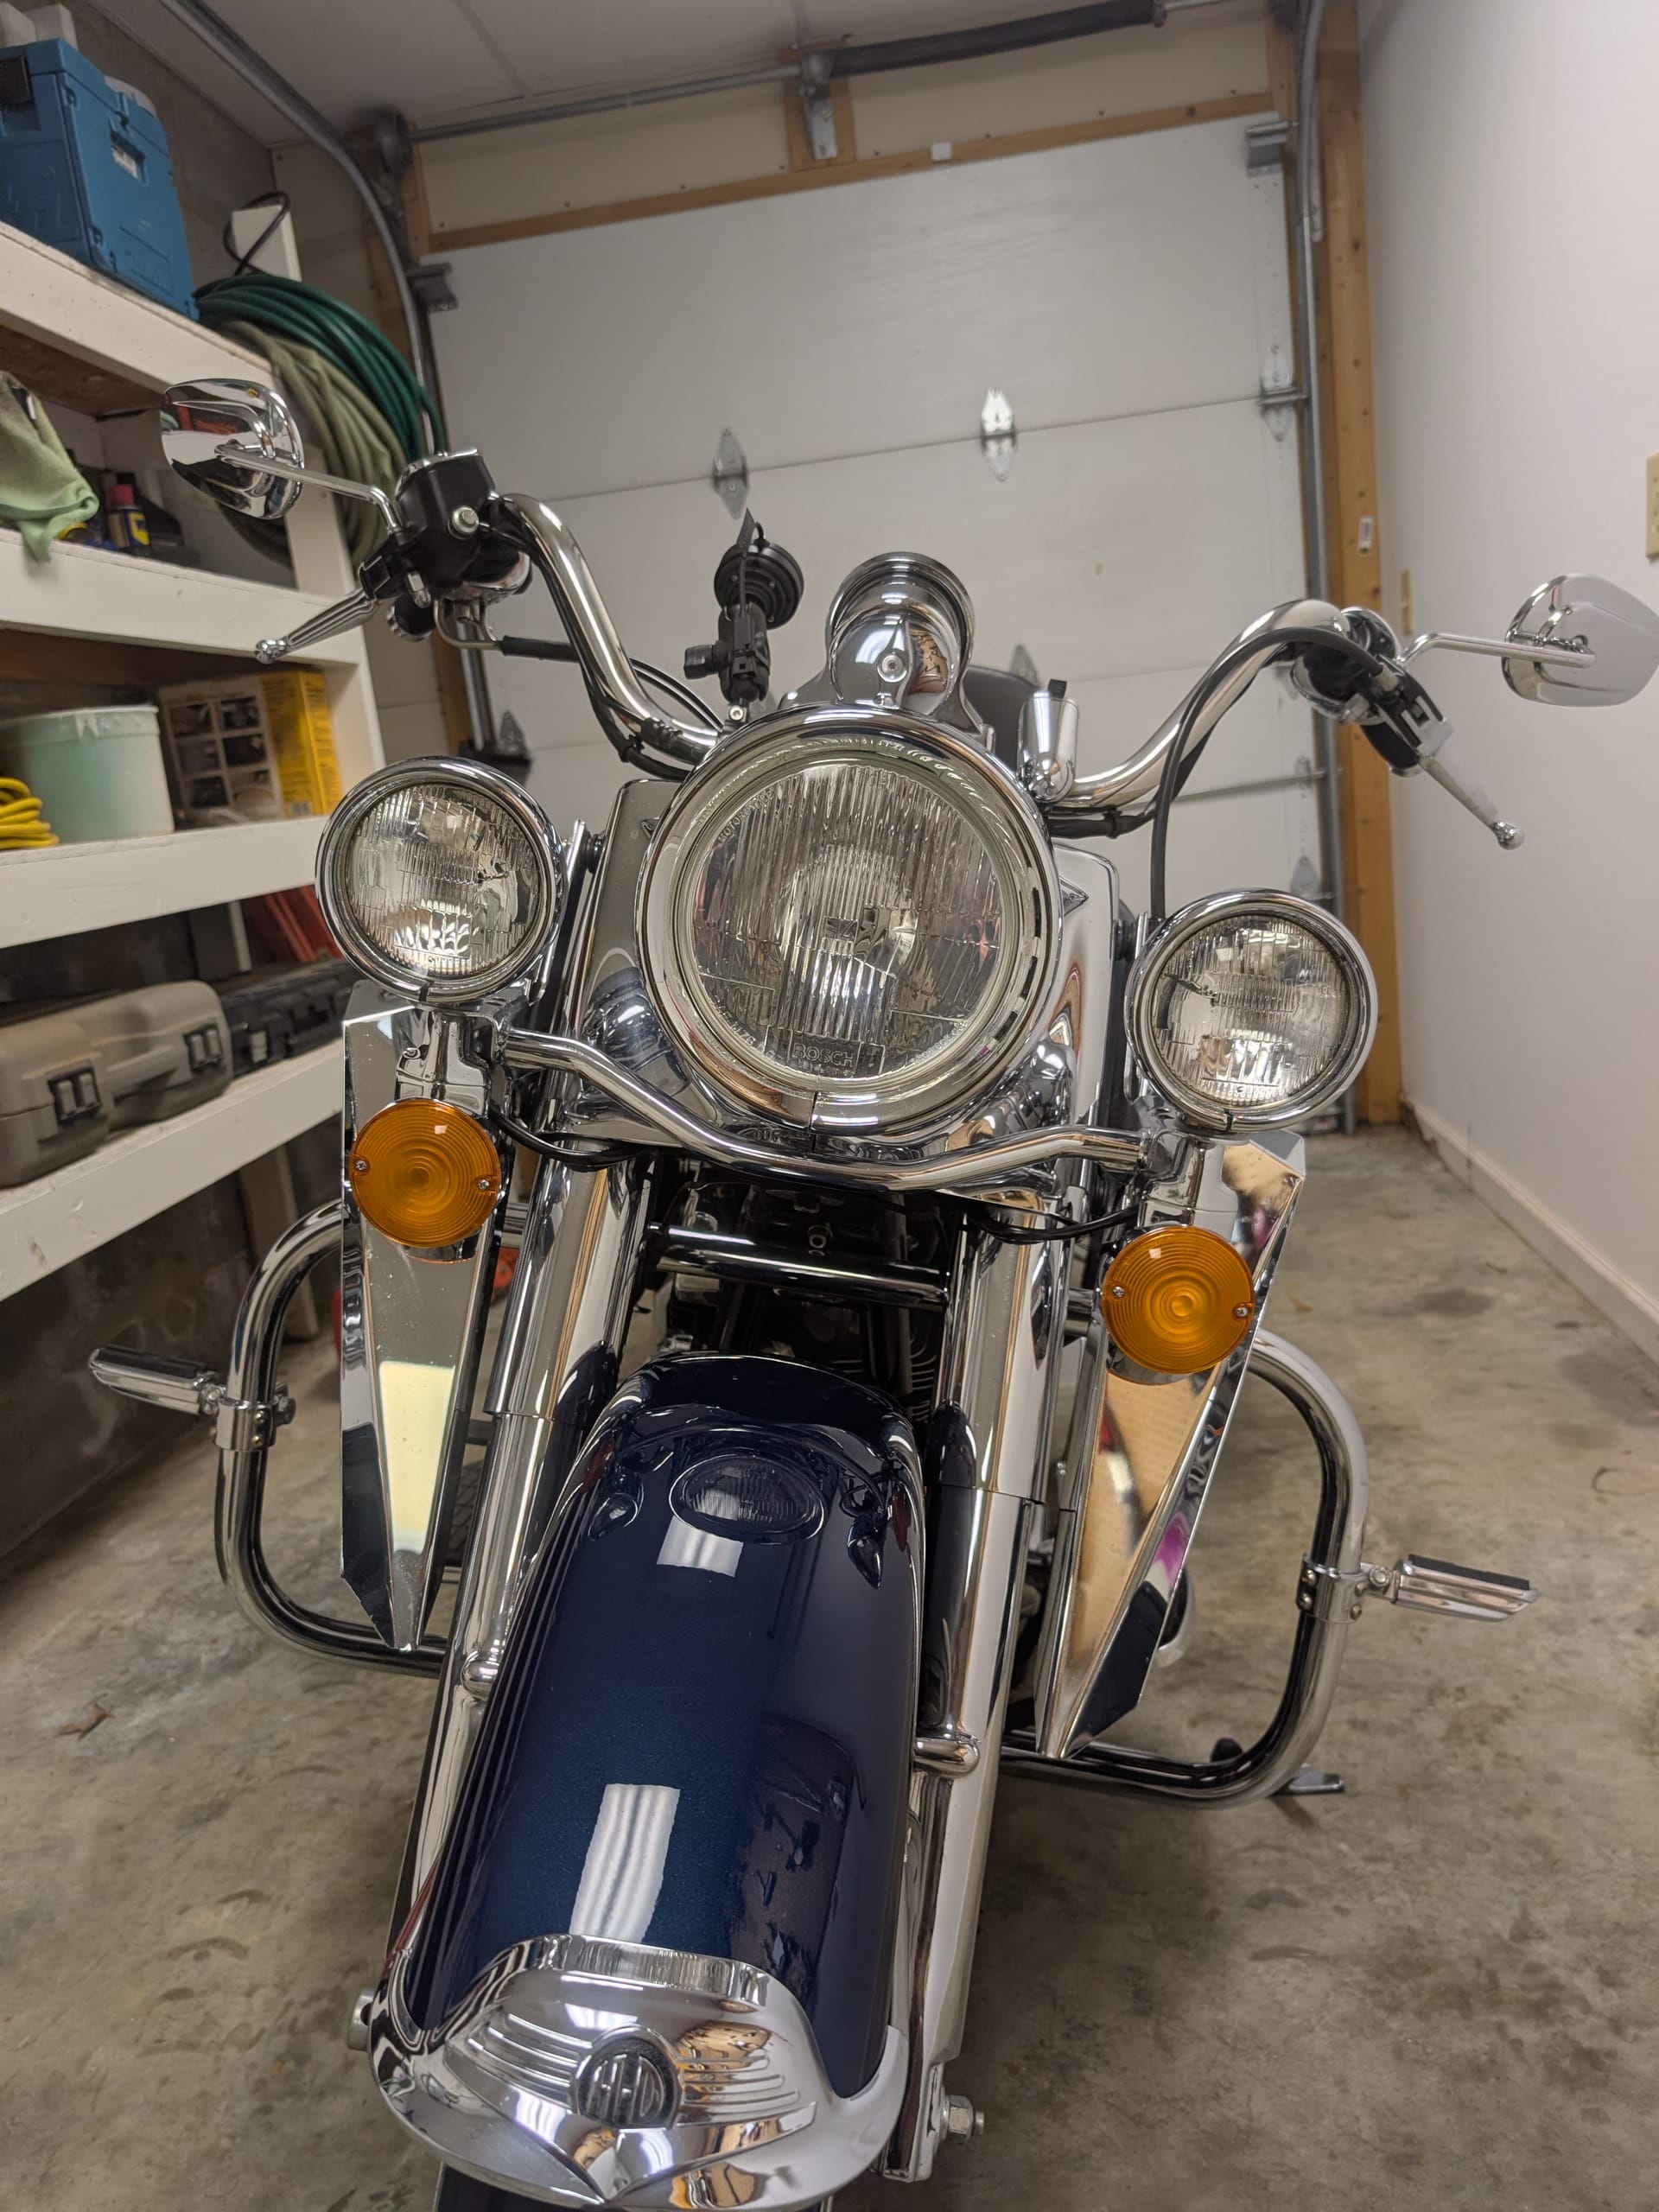
Start by removing the headlight trim ring. On the Road King, the trim ring surrounds the headlight assembly and is retained by a screw. Carefully remove the retaining screw and set it aside somewhere safe. Be careful with the retaining nut. It is small and easy to lose. It takes a bit of muscle to remove the outer ring. Someone like me with arthritis, it becomes a job. Luckily I had may neighbor over to assist.
Once the trim ring is removed, the original headlight assembly can be accessed. Before pulling anything apart, take a moment to look at how everything is positioned. This is particularly important if you've never worked on the headlight assembly before.
Disconnecting the Factory Headlight
With the headlight accessible, disconnect the factory electrical connector. They give a pigtail and mention older models may need it. Nope. We were able to use the same 3-prong plug.
Don't pull on the wires themselves. Grip the connector and separate it carefully.
This is a good time to inspect the connector and wiring. Since this motorcycle is a 2001 model, there's a good chance that some of the wiring and connectors have been exposed to years of heat, vibration, moisture and weather. If everything looks good, continue with the installation.
If you find damaged insulation, corrosion or loose terminals, take care of those problems before installing the new headlight. There's no point putting a brand-new LED headlight on the motorcycle if the wiring feeding it isn't in good condition.
Installing the HOGWORKZ LED Headlight
This is where the upgrade starts getting exciting. The HOGWORKZ headlight uses a modern LED projector-style design and is considerably different from the original factory unit. The HOGWORKZ installation is designed to be plug-and-play, which means there shouldn't be a need to start cutting up the motorcycle's factory wiring for the headlamp.
For the 1994–2013 Touring models, including the Road King, the supplied mounting bracket is used to properly mount the new headlight. Just remove the old one (7 screws) and install the bracket and mounting components. I will say that the instructions that came with the headlamp really were not of much help but since it is a simple swap, they really were not needed.
Once the new ring is installed, connect the headlamp to the original plug. Before proceeding, I recommend turning the ignition on and testing the light.
Check:
- Low beam
- High beam
- Auxiliary lights
- Connections
- Beam operation
It's much easier to correct a wiring problem while everything is still accessible than it is after you've completely reassembled the headlight housing. Also, take the time to aim/adjust the beam before attaching all the outer rings.
To adjust the beam, take a measurement to the center of the headlamp while sitting on the bike. With that measurement (mine was 35"), put tape on the wall at that height. With the bike 12.5' from the wall, put tape 1.5" below that tape. This is where you want the top of the headlamp to hit. After a few minutes of adjustment, the headlamp looked good (although the true test is how many flashes I get riding at night).
If everything works, you need to install the mounting ring. Just three screws. Then mount the inner chrome ring. Be sure to slide the top of the ring into the spring at the top. It slides into a slot. There is a retaining screw at the bottom. It is a little tricky getting it in the hole but just be patient and it will go.
Once that is complete, just install the outer chrome ring and the retaining screw and nut. Tighten to close up the gap and you are done.
Installing the Auxiliary Passing Lamps
Next comes the two auxiliary lights. These are the smaller 4.5-inch lights located on either side of the Road King's main headlight. I checked the alignment of these before getting started and they were a bit lower than the headlamp beam. The adjustment of these is a bit more complicated. I hoped that after installing the new lights, the alignment would be the same.
Remove the outer ring (it is exactly the same as the headlamp). There is a gasket so be careful when removing. When you pull out the lights, there are two wires. Since the old light used spade connectors and the new light has two bare wires, I just used a watertight butt connector to rewire them.
The HOGWORKZ auxiliary lights are designed as a plug-and-play replacement and use modern LED technology. The company's specifications list the 4.5-inch passing lamps at 30 watts and 3,200 lumens.
Once the original lamps are removed, install the HOGWORKZ LED assemblies in their place. There is a wrong way and a right way. There are slots on either side of the lamps. Hold one in place and turn on the lights. If the half moon faces up, turn it 180 degress. Once you are sure they are correctly aligned, attach the outer chrome ring and cinch the retaining screw.
Chrome and aluminum components can be damaged surprisingly easily when excessive force is used so be gentle.
The Difference Is Obvious
Once the HOGWORKZ lights were installed and aimed, the difference between the original lighting and the new LEDs was immediately noticeable. The biggest change is the color of the light. Instead of the warm yellow light associated with an older candle, the HOGWORKZ LEDs produce a much whiter light.
But it's not just about color. The amount of usable light on the road is what really matters. The headlight provides a much more modern beam, while the auxiliary lights add additional illumination to the sides and forward portion of the road.
Together, the three lights give the front of the Road King a completely different appearance.
The Appearance Upgrade
One of the things I like most about this modification is that it doesn't completely change the character of the motorcycle. The Road King still looks like a Road King. The 7-inch round headlight and two passing lamps are still there. What changes is what's inside those housings.
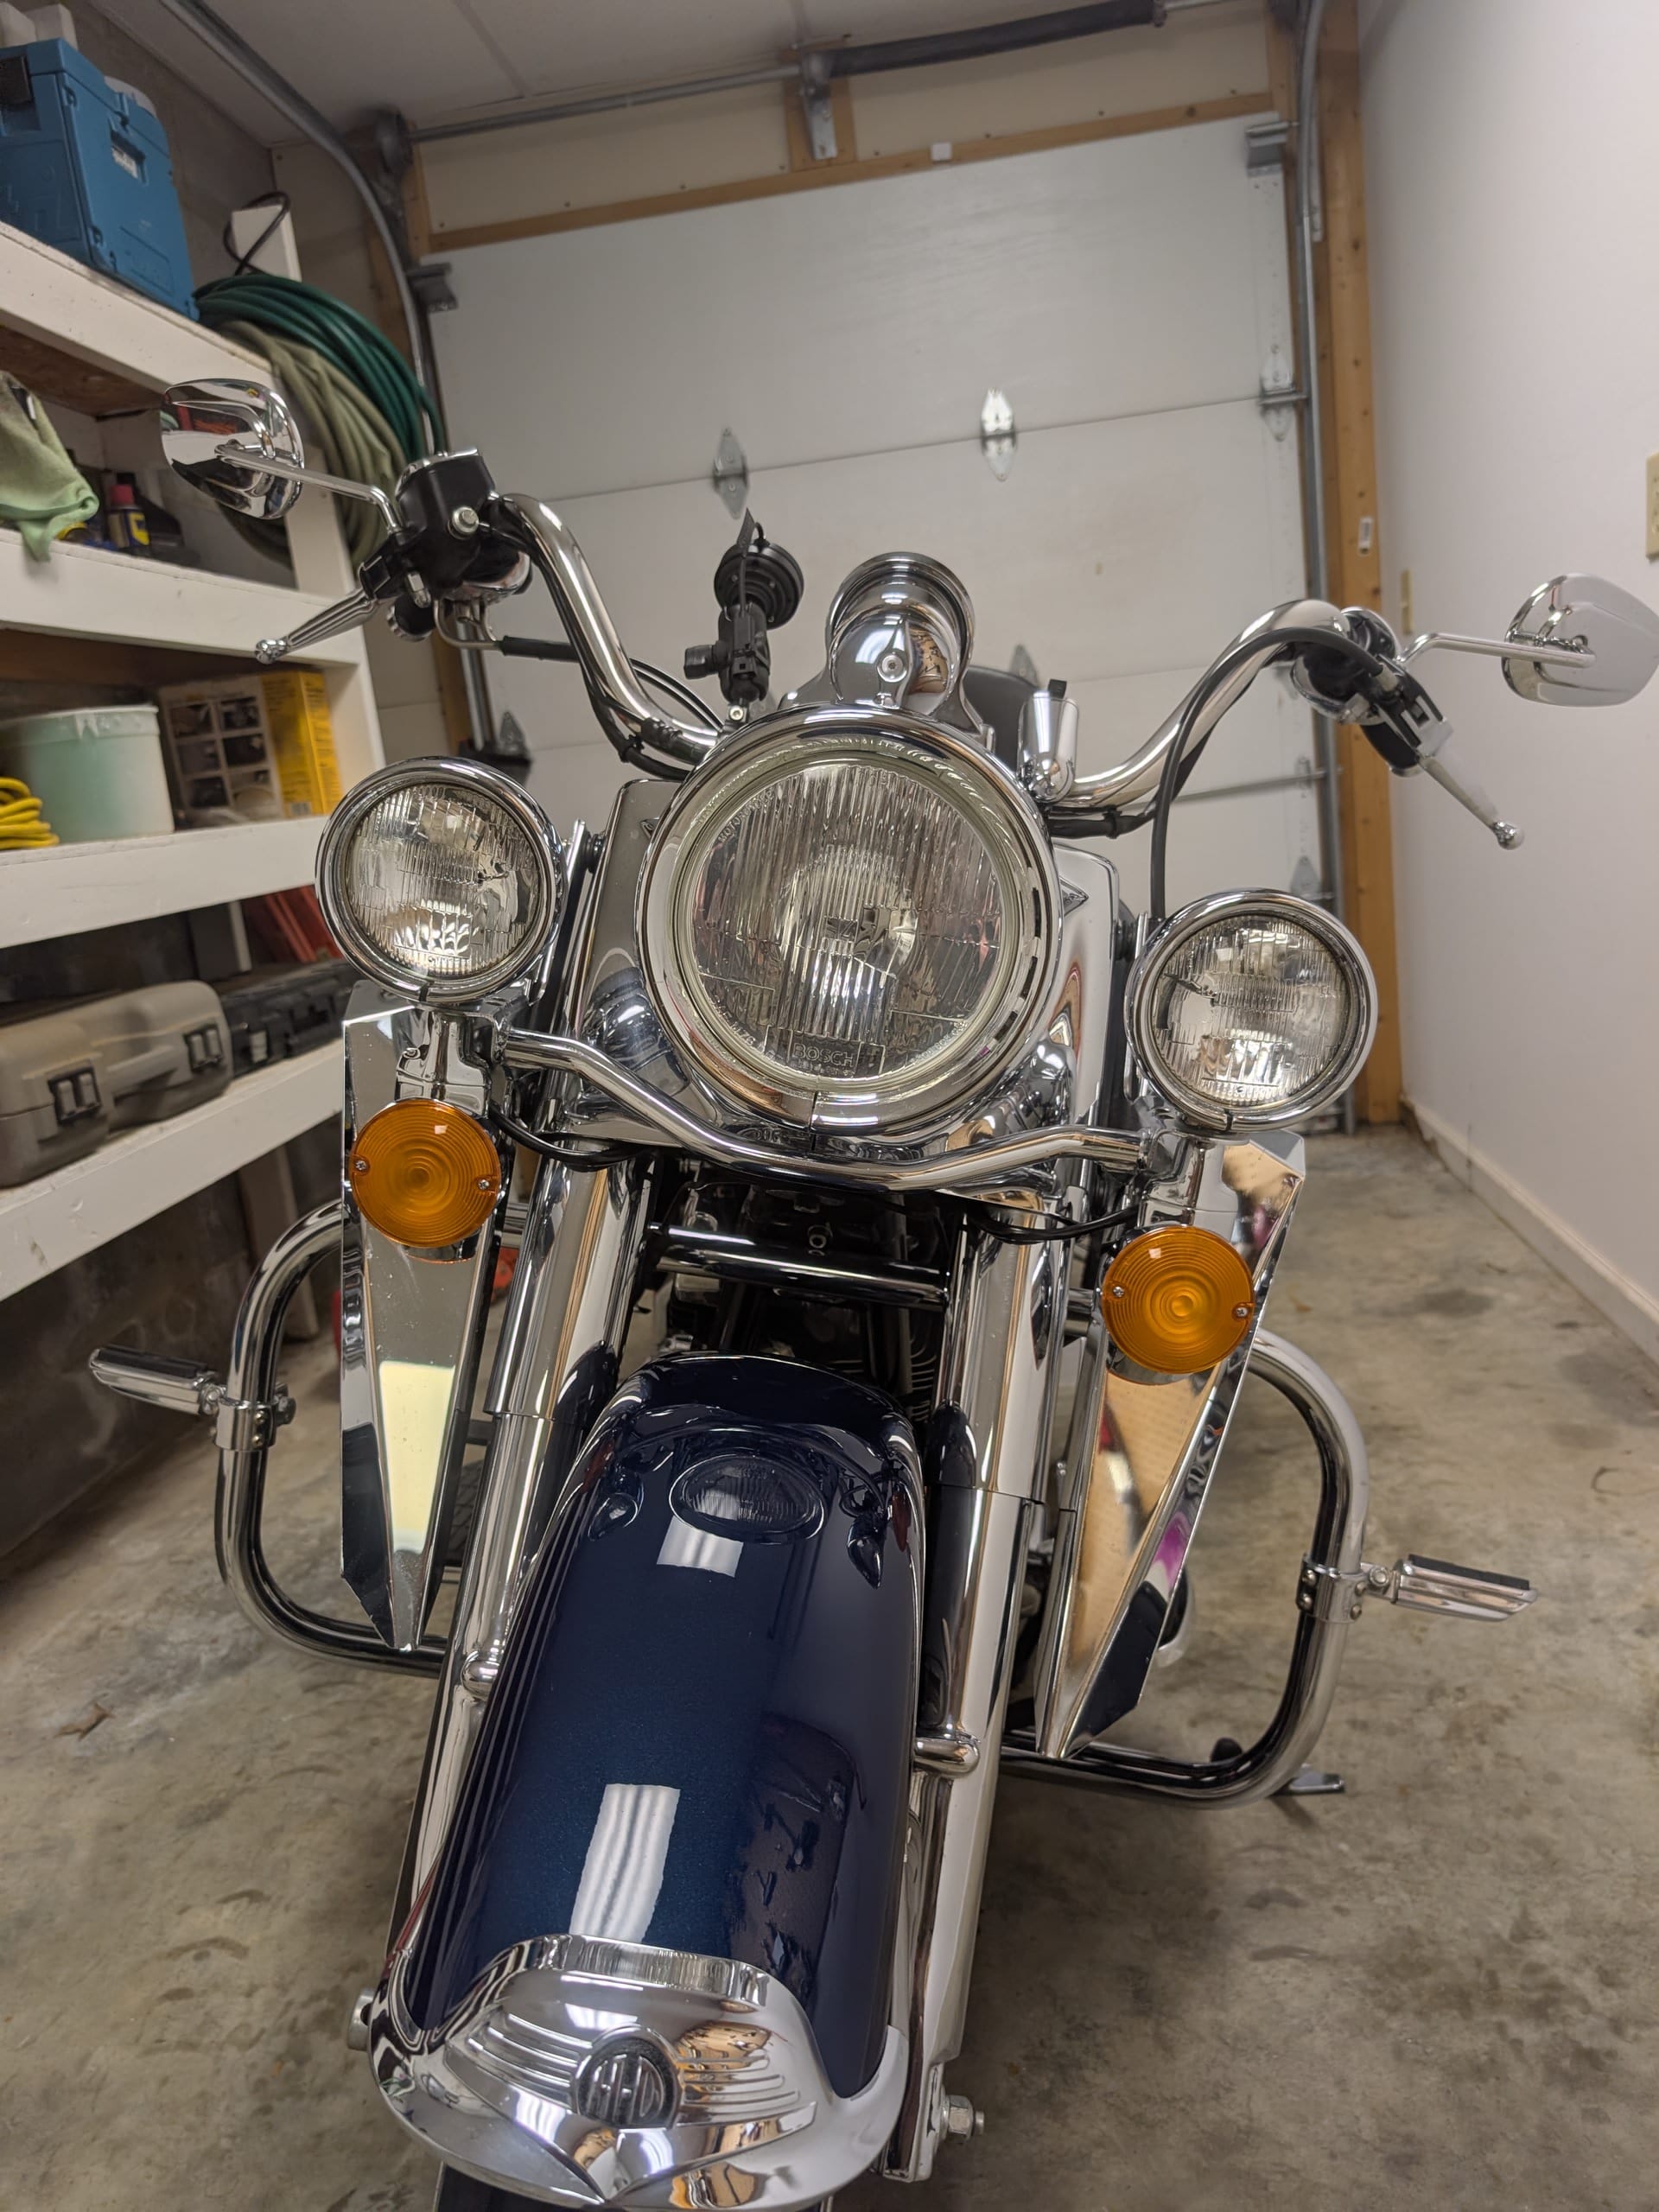
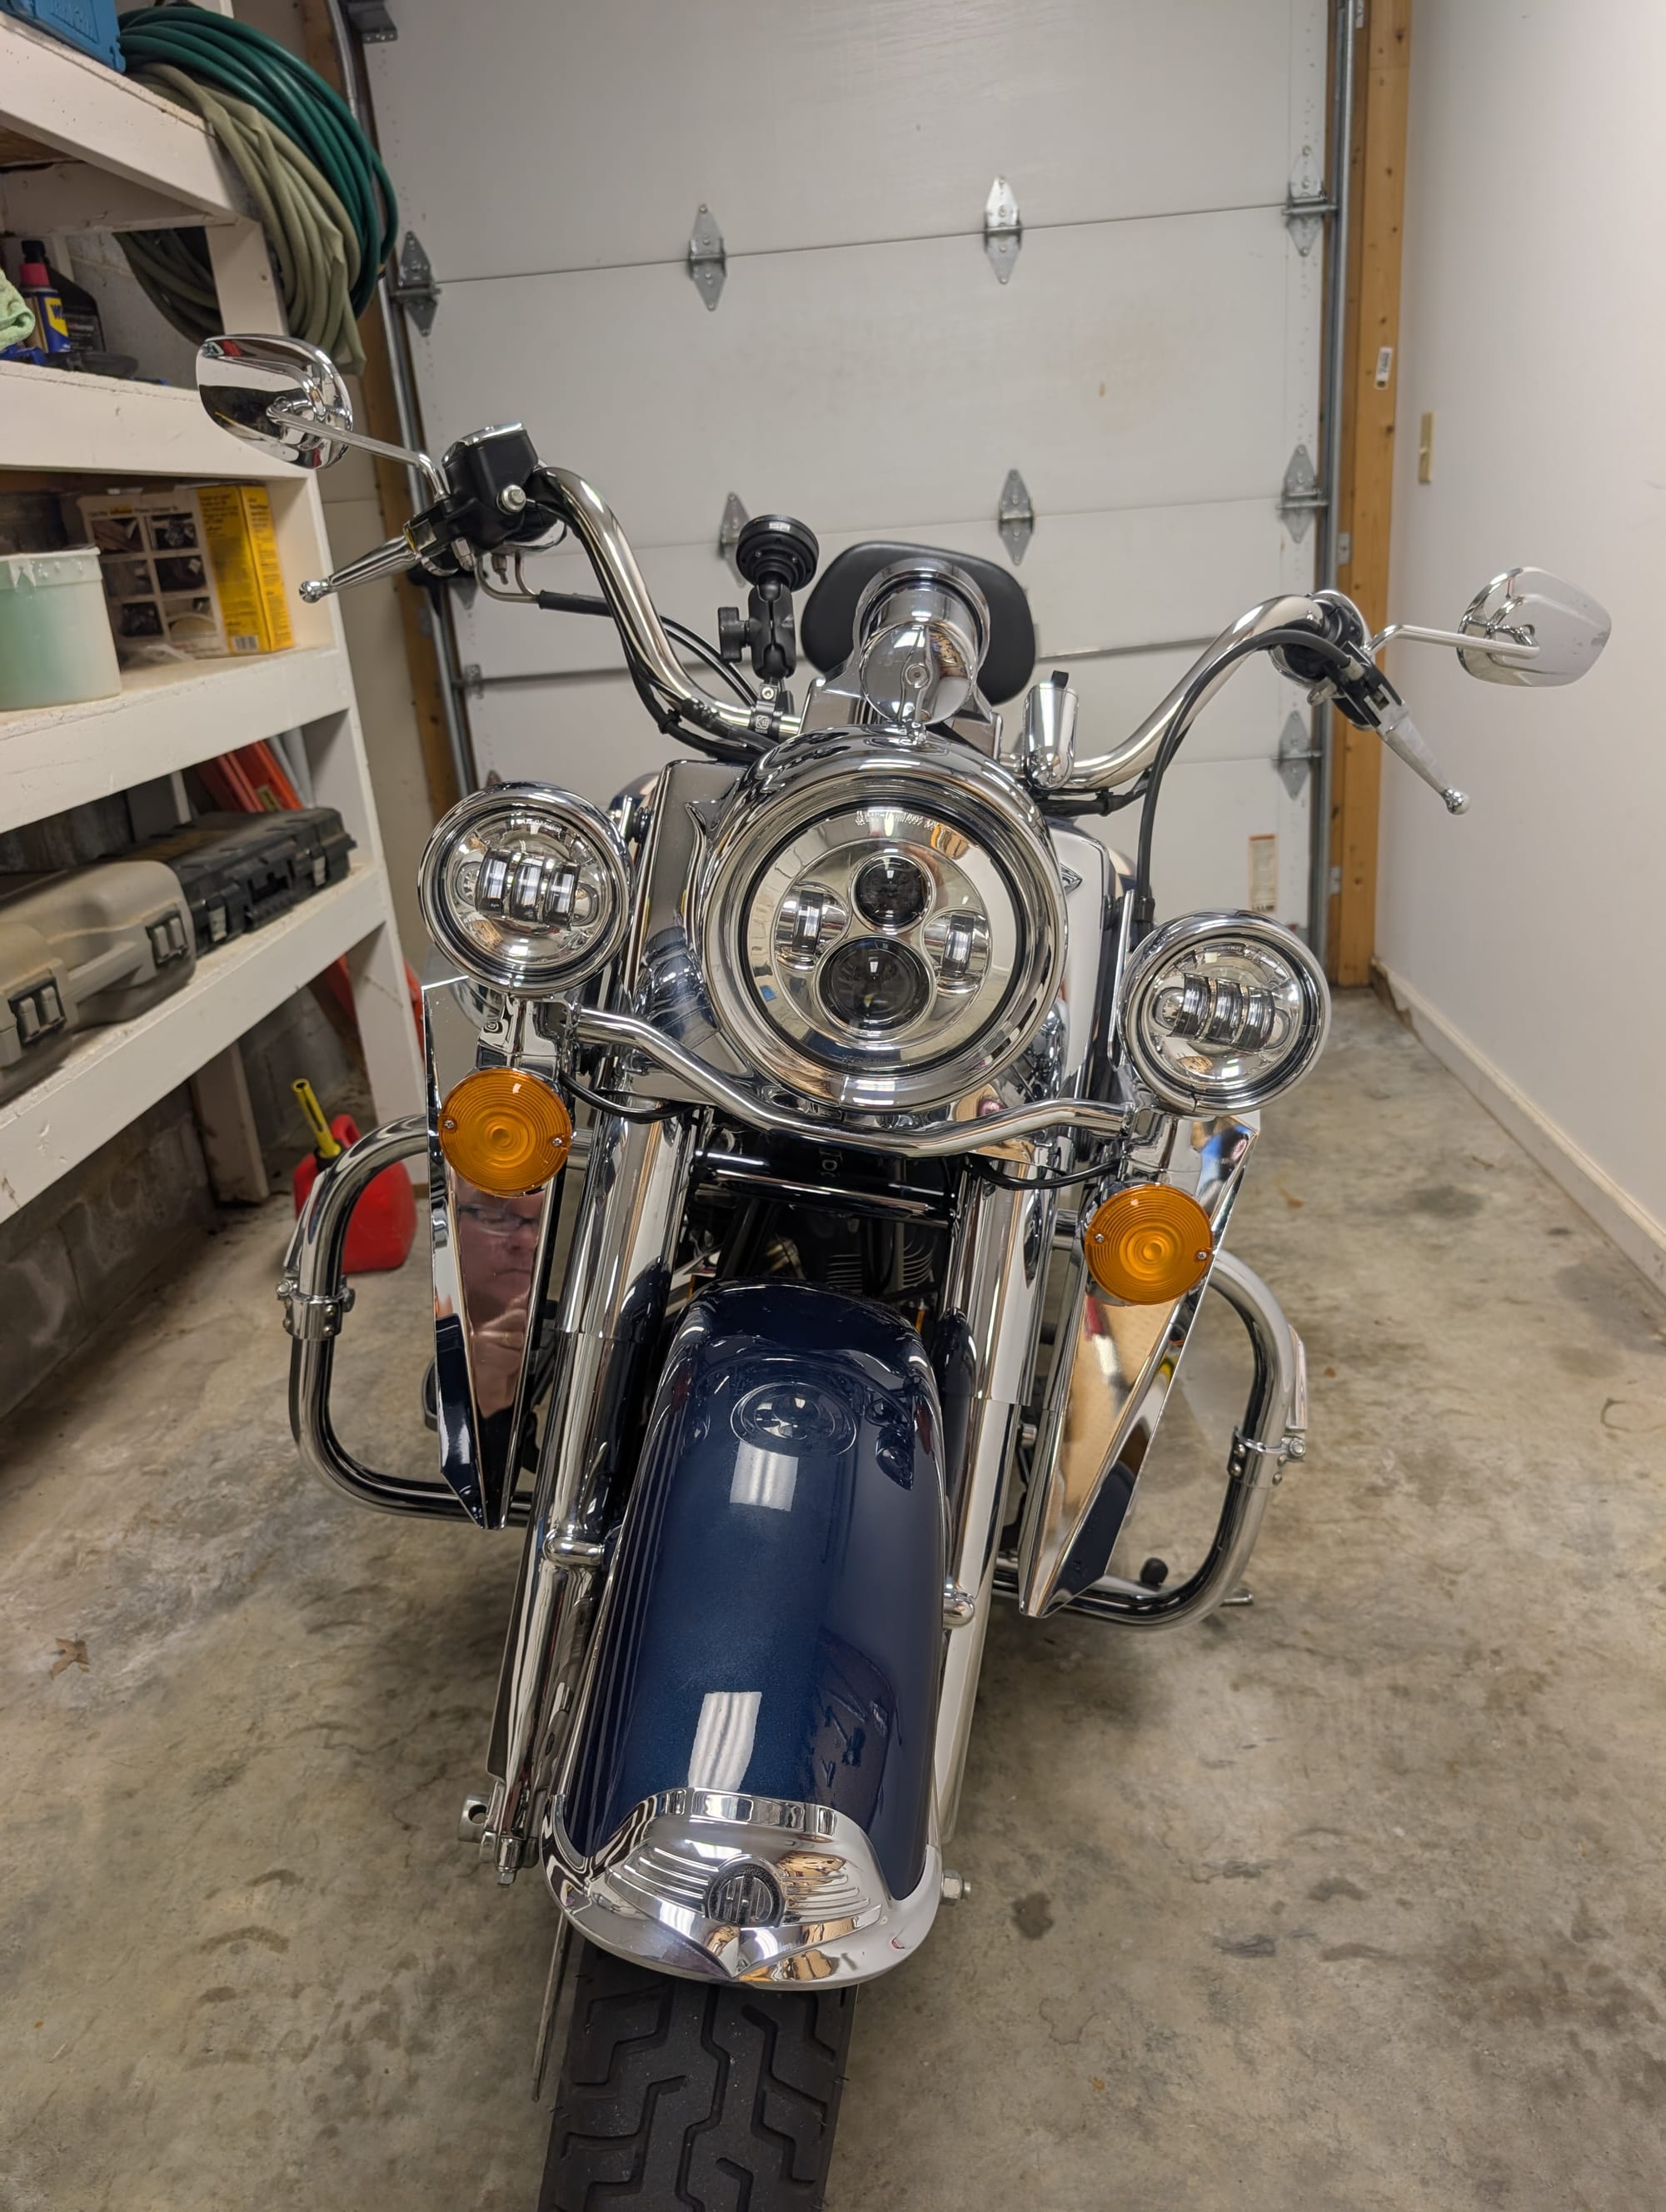
Old vs New lights
The chrome HOGWORKZ lights fit particularly well with the traditional appearance of the motorcycle, while the LED elements give it a much more modern look.
If you prefer a darker, more aggressive appearance, HOGWORKZ also offers blackout versions and HALOMAKER models.
Is the Upgrade Worth It?
For me, absolutely. The 2001 Road King is an old motorcycle, but there's no reason its lighting has to look and perform like it's still 2001.
The HOGWORKZ LED conversion gives the bike:
- Brighter lighting
- Whiter light
- Better nighttime visibility
- Modern LED technology
- A cleaner appearance
- Improved auxiliary lighting
- Plug-and-play installation
- No need to completely rewire the motorcycle
HOGWORKZ also backs its LED lighting with a lifetime warranty. That's a nice bonus when you're making an upgrade like this.
A Few Installation Tips
After doing the installation, there are a few things I'd recommend to anyone considering the same upgrade.
Take pictures before you remove anything.
Even if you think you'll remember how everything goes, take a few pictures with your phone. They're an excellent reference when it's time to put everything back together.
Don't force connectors.
If something doesn't plug together easily, stop and check the connector.
Protect the chrome.
Put a towel or microfiber cloth over nearby painted and chrome surfaces while working.
Check the wiring.
Make sure nothing can rub against the fork, steering components or other moving parts.
Test before final assembly.
It's much easier to fix a wiring problem before everything is buttoned up.
Aim the lights.
Don't skip this step. Bright lights need to be aimed properly.
Final Thoughts
The HOGWORKZ LED headlight and auxiliary passing lamps turned out to be a great upgrade for my 2001 Harley-Davidson Road King. It's one of those modifications that provides both a cosmetic and functional improvement. The motorcycle still retains the classic Road King appearance, but the modern LED lighting gives it a much more contemporary look.
More importantly, when the sun goes down, the difference is even more noticeable. The old factory lighting was adequate for a motorcycle from 2001. The HOGWORKZ LEDs are designed for the way I ride today.
If you have an older Road King and are still running the original headlight and passing lamps, upgrading the lighting is definitely something I'd consider. HOGWORKZ specifically lists its 7-inch LED headlight and passing-lamp combinations for 1994–2013 Road Kings, making the 2001 model a direct fitment within the company's listed application range.
And best of all, you don't have to sacrifice the classic look of the Road King to get modern lighting performance.
Sometimes the best upgrades are the ones that make an old motorcycle better without making it look like a different motorcycle.